“Mighty Five” Utah National Parks in 11 days
We visited Zion, Bryce Canyon, Capitol Reef, Arches, and Canyonlands national parks all within 11 days in a somewhat relaxing(?) manner. Continue on below to find out how we did it, and how we maximized our time there.
Living in southern California provided us a bit of an advantage as we are “only” 7 hours from Zion and that can obviously play a large factor in how you approach this trip. We had never been to any of these parks before and live close enough so that we wanted to have an “introductory” trip to each of them to familiarize ourselves for potential future revisits and deeper exploration.
We wanted to have at least 1 full day in each of the national parks so that we could do the Junior Ranger programs with the kids and take at least one hike and/ or see the major landmark at each park. We knew that only 1 or two days at each park was not going to leave a lot of time for exploration, but that wasn’t the priority on this excursion.
To be fair, we did drive from the L.A. area to Las Vegas for the night and then headed on to Utah, but it’s not unreasonable for someone without a 6 year old to make the drive straight through.
With the summary of the trip out of the way, lets dive in to our adventure
Table of Contents
Zion National park – Day 1 – 3

Since it was the closest from Southern California where we live, we started the trip by Visiting Zion National park. For this first park, we reserved our hotel for two nights just outside the park in Springdale, UT.
Although it’s a relatively small town, there are plenty of dining and entertainment options. It is also a very short distance to the Zion entrance. Although we didn’t use it, the town of Springdale has a shuttle available as well that conveniently had a pickup spot just outside of our hotel. This shuttle is free and has 9 different stops in the town and will deliver you to the Zion canyon Village which is a short walk from the south entrance pay station and the Zion visitor center. You can click here for a pdf version of the Springdale Shuttle map.
Since we arrived in town relatively early and didn’t have any immediate plans we made our way to the visitor center to pick up the junior ranger booklets for the kids and confirm times when the National Park shuttles were running. As a part of the Junior ranger program the kids had to do a ranger guided program which are primarily held at the Zion Nature center. They have some interesting exhibits and the ranger led talk was informative. They also had an activity for the kids that is free as well as a pile of clothes where they can dress up as a wild land firefighter or park ranger. All in all definitely worth visiting, although it is about half a mile walk from the main visitor center.
We knew that we wanted to experience the Narrows trail before the crowds hit, so the next morning we arrived at the visitor center around 0630. Since Zion is one of of the most popular national parks and the road through the canyon is quite narrow with limited parking options they have instituted a policy of no personal vehicles inside the park. You must take one of the shuttle buses to gain access to the majority of the park. The shuttles run from the Visitor center about every 15 minutes.
Despite our best efforts to beat all of the crowds to the park, we still didn’t get on the first shuttle bus that departed from the visitor center. We were able to get on the second one, which was only a few minutes behind the first. We rode the shuttle all the way to the end of the line which is the Temple of Sinawava, which is the lower starting point for the Zion Narrows.

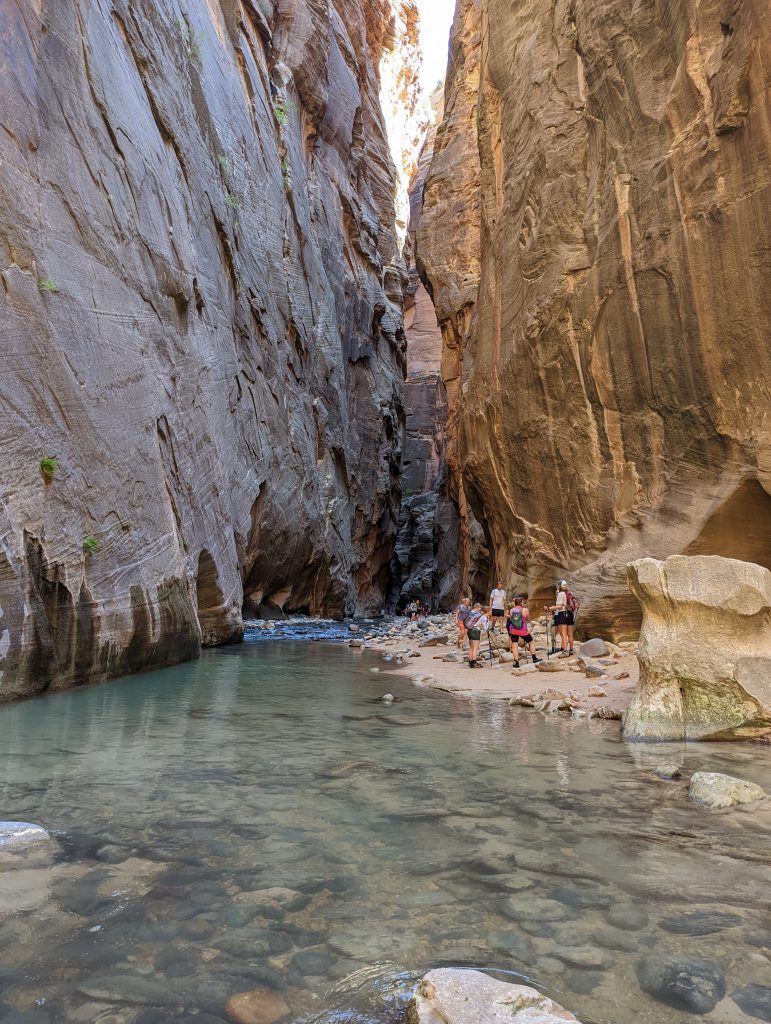
Hiking the narrows is not necessarily hard, but because you are hiking primarily in the river it comes with some unique challenges. First thing that you must be aware of the potential for rising and falling water levels. If there are thunderstorms in the area, it may not be a prudent time to go because there are no side exits and very few safe places in case of flash floods or rising water levels. It’s also likely impossible to do the hike through the narrows without getting wet. The Virgin river flows through fills the narrow canyon with water from side to side and the walls are steep and smooth. We’d say that hiking barefoot is probably not recommended because of the rocky bottom of the river. Even with shoes we found that it is quite easy to slip and lose your footing on the well worn smooth rocks. Attempting to do the trail without shoes would also increase the risk of injury during a slip on the rocks. For someone that has balance issues we’d recommend taking a set of trekking poles for added security.
We ended up doing about 3 miles up the trail. By this time the sun was getting higher in the sky and the temperature was increasing steadily. Coming back down the river was much easier that going up since we were no longer fighting the current and we also were not stopping every 100 feet to take a picture or marvel at the scenery. As we got back to within the first mile of the trailhead the number of people on the trail exponentially increased. We were very glad that we got the early start and were able to avoid most of the crowds on the way up.
Once back at the trailhead we had about a 30 minute wait for the shuttle to start heading back down. This was in due to the number of people also waiting for the shuttles where we had to wait for 2 or 3 buses before we could board.
We had planned to stop at Weeping Rock, but it was still closed during the time that we were there from a rockfall/ landslide that occurred in 2019. Weeping rock trail reopened in November 2022 though and should be accessible now. With those plans being invalidated, we continued on and exited the shuttle at Stop 5 for Zion Lodge.
Despite being the main gathering area within the park, there was still surprisingly limited cellular service which made it a bit troublesome meeting back up with some of our group members who had left the narrows early. Once we got that figured out and were reunited though, we enjoyed some food and a beer from the concession stands while sitting out among the trees. Satisfied from that, we then went across the street and explored the emerald pools trail.
We opted to only do the 1.2 mile (one way) trip to the lower emerald pool. The hike was easy with only about 70 feet of elevation gain. The trail skirts the canyon wall staying low in elevation. Arriving at the lower pool, the overhanging waterfalls provided a nice area to hang out while the sun was hot. While we were there in July the falls were a trickle of water, but of course that can change with the season and condition.
These two hikes were the extent of our journey in Zion for this trip. With the early start and exertion required hiking the narrows we were all looking forward to a relaxing evening in town. We stopped in for an ice cream at the Springdale candy company then ended the day at the Bit and Spur Restaurant.
Bryce Canyon National Park – Day 4 – 5
The morning after our narrows hike we left Springdale with Bryce Canyon National park as our destination. We headed north through Zion towards the Zion-Mount Carmel tunnel. The tunnel was built in the late 1920’s and is over a mile long. Going this way does require payment to get through the park, but since we had the annual pass there was no additional fees for us.
A short 2 hour drive later we arrived in Bryce Canyon. The temperature was nice due to the cloud cover, but that quickly developed into some scattered thunderstorms. We stopped for lunch at the Ruby’s Inn in Bryce Canyon city as once you enter the park, there aren’t really any options. The food was ok, but nothing overly special. We then stopped at the visitor center which is just inside the entrance to the park.
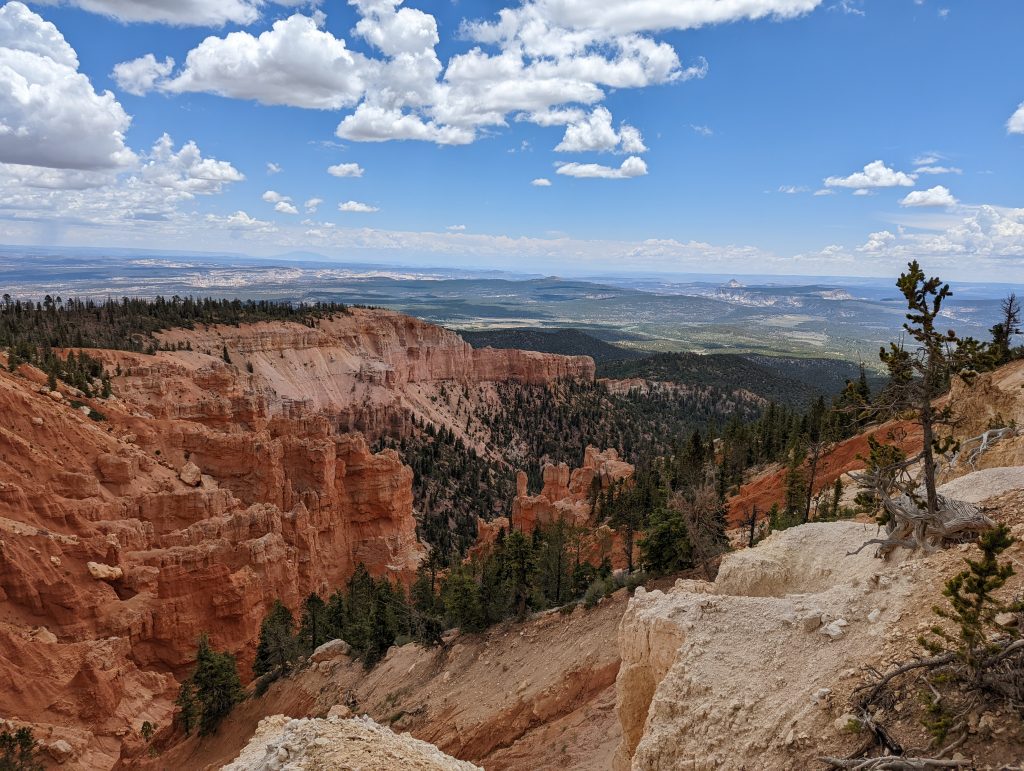
Bryce Canyon National Park is laid out as a single road, about 20 miles long, that runs basically North to South. We only planned for one night here and wanted to be sure to cover as much as we could from a scenic overlook perspective so we drove all the way to Rainbow Point which is at the southern end of the road. From there we meandered around the Bristlecone Loop trail. As we were about 3/4 of the way through that trail the lightning began to get closer and some light rain started falling.
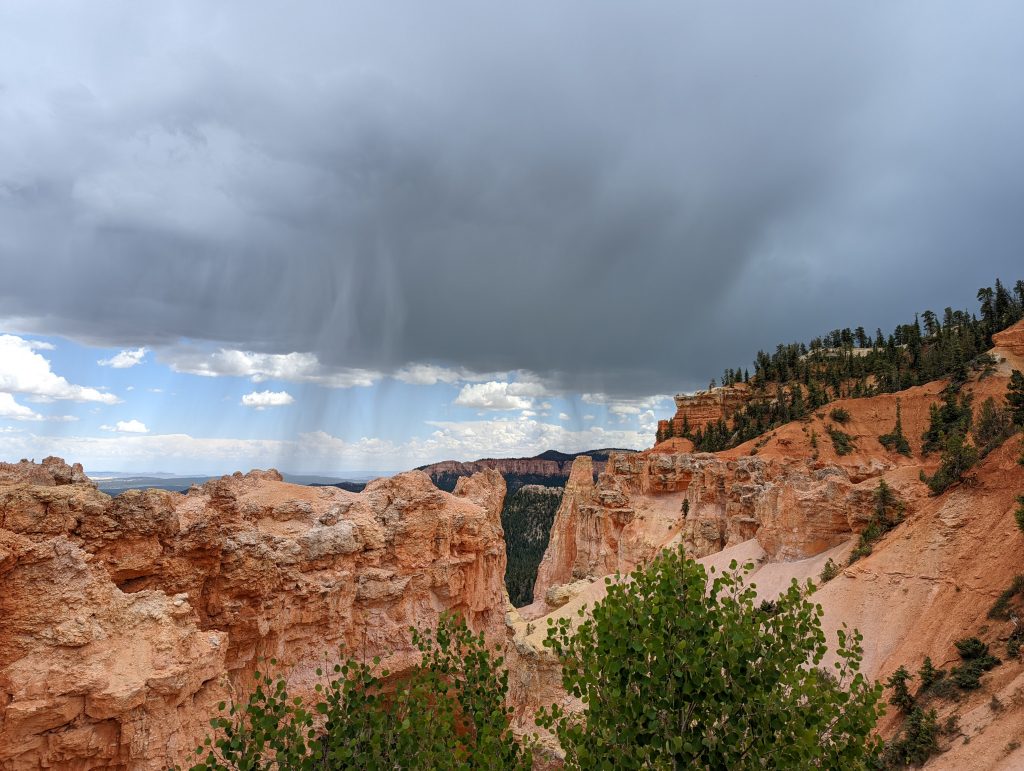
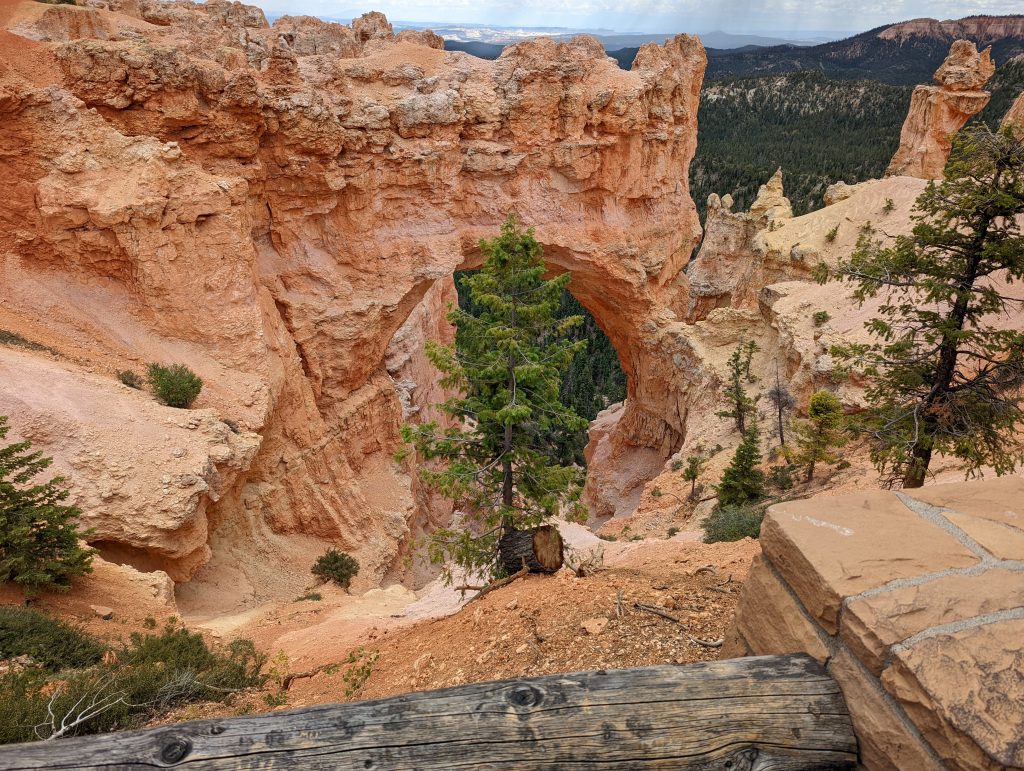
The rain was short lived and we then jumped back in the car and stopped at all the view points on the way back. The views from them seem to go on forever. It was also interesting to see the bands of thunderstorms with the rainfall. The photos above are from the Natural Bridge Overlook. There was thunder and lightning in one area, but just beyond the mountains it was party cloudy and sunshine.
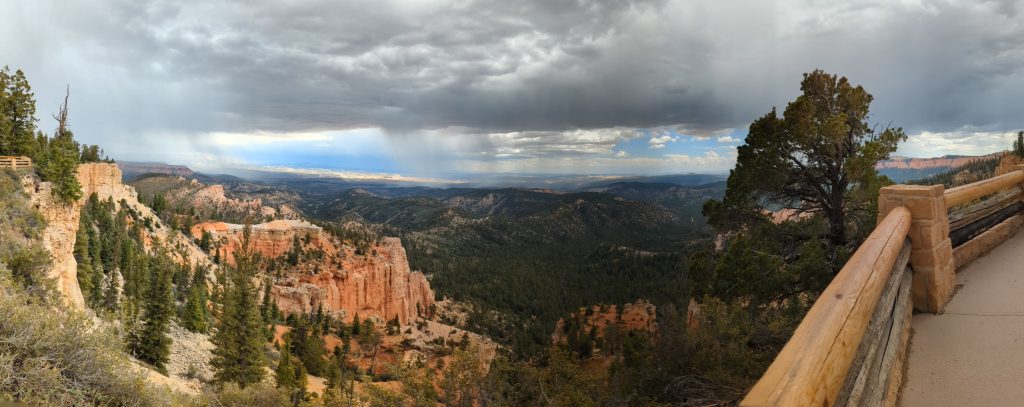
The view from Farview point also did not disappoint. The randomness of the rain and the clouds in general was on full display. We ended the day in the park a bit early this day as the kids were tired and we knew we had a long day tomorrow with plans to hike, and then make the drive to our next park.
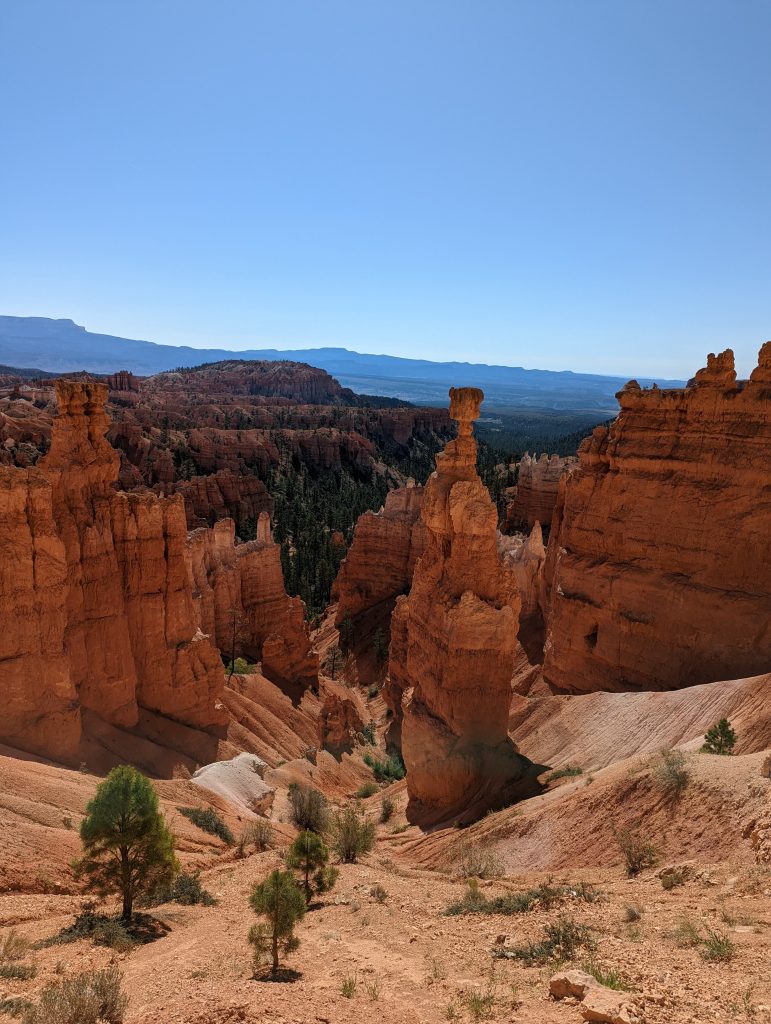
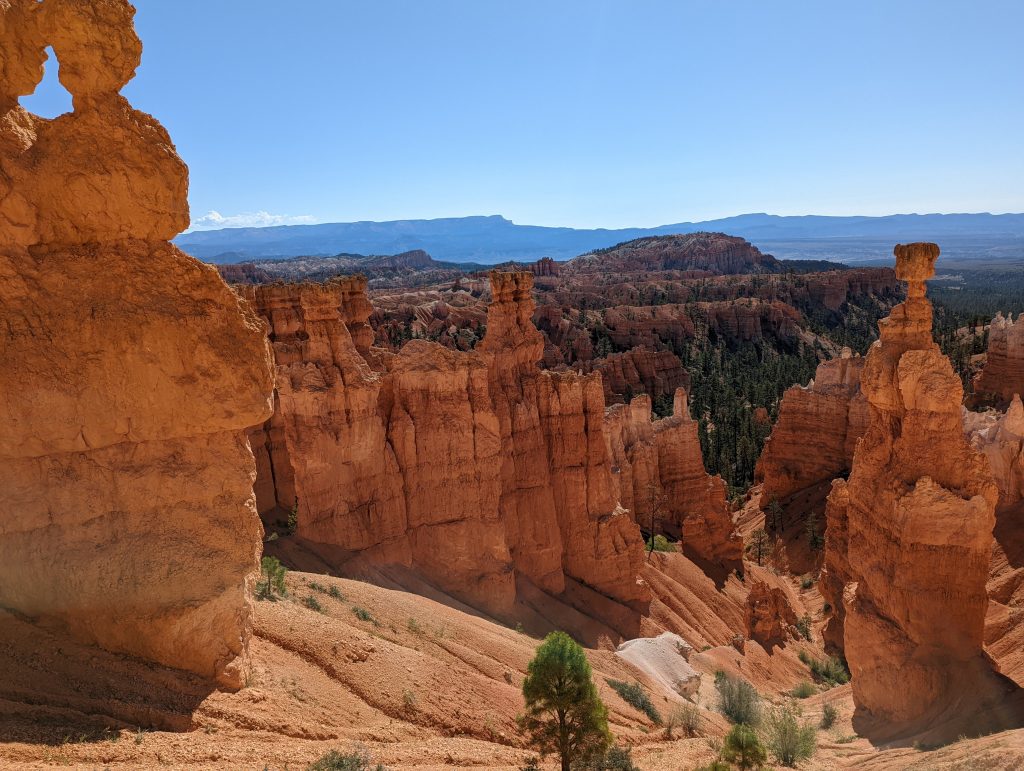
The next morning we drove back into the park to hike the Navajo Loop/ Queen’s Garden trail combo. It is highly recommended to arrive to the Sunset Point parking area early as this is the most popular hike and location in the park. We didn’t arrive until about 9am and therefore had to find parking along the road. It only cost us about an extra 1/4 mile of hiking so all in all not too bad. sunset Point is also the location where you get a view of the iconic Thor’s Hammer formation and the trailhead for most popular hike, Queens Garden Trail.
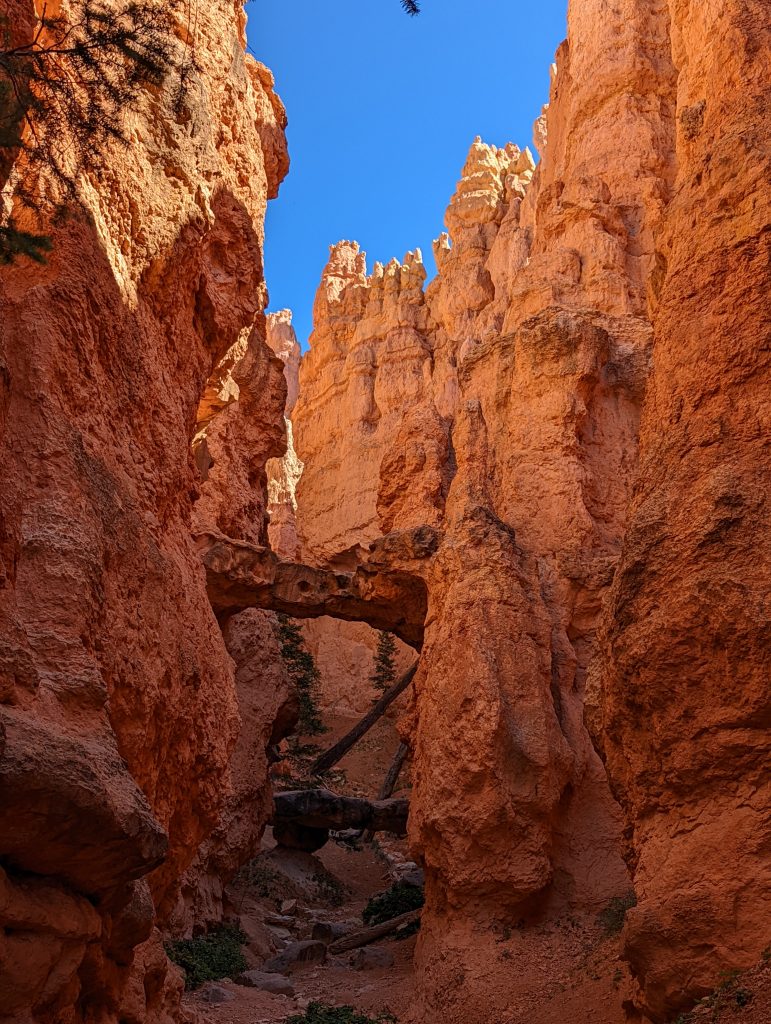
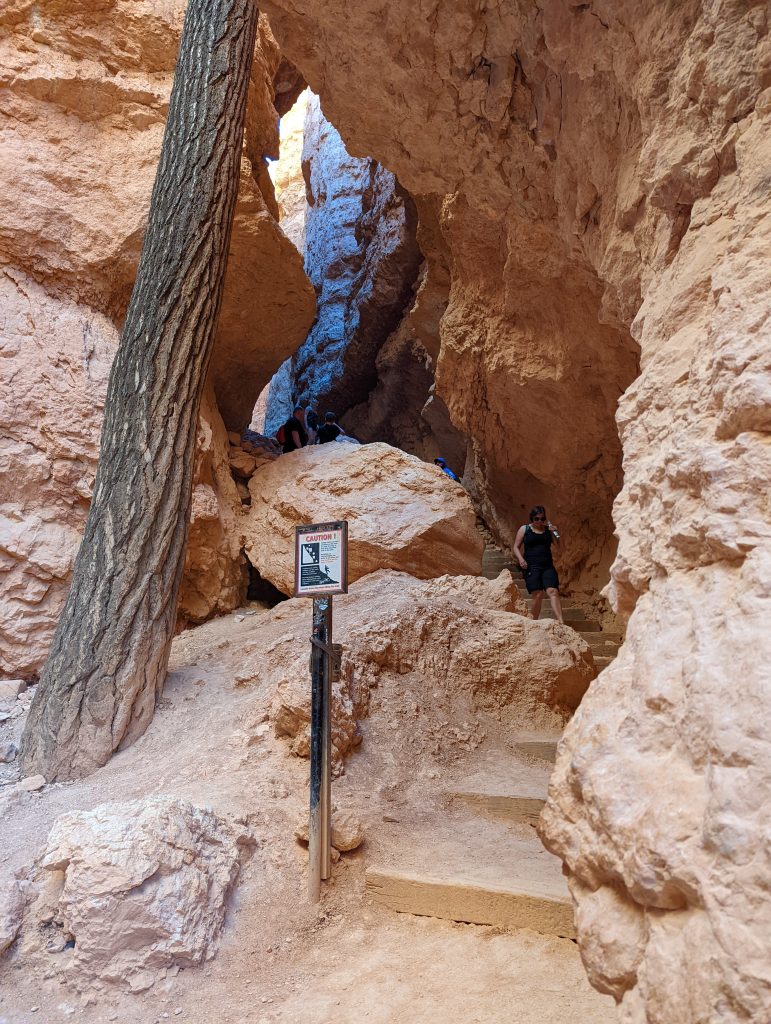
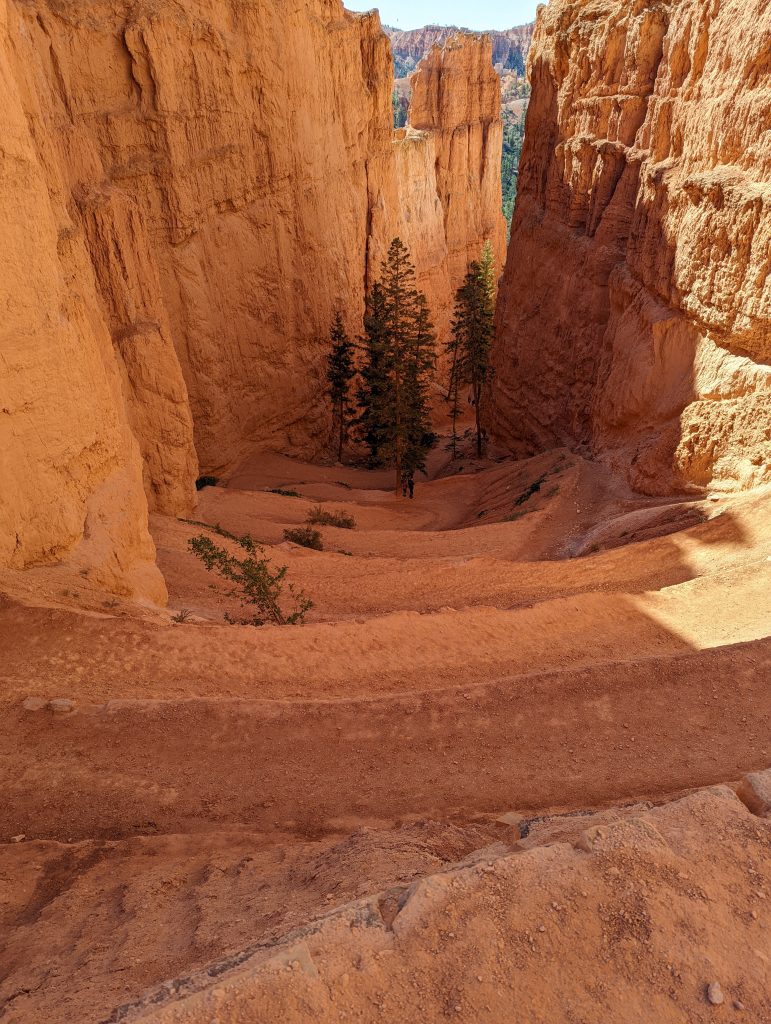
We did the opposite direction of the park service brochure’s recommendation for the Navajo–> Queen’s Garden loop trail. Normally it is recommended to do this hike in a clockwise fashion, but we started by descending via the Two Bridges trail. We think that might be the better way to go. If we had to ascend the switchbacks, we don’t know that they would be nearly as photogenic as they are. Once at the bottom intersection of the Navajo loop and Two Bridges we took a “quick” detour back up to see the Wall Street area of the Navajo trail. Apparently this is the only slot canyon in the park. Hindsight being what it is, it would probably be better to descend wall street, and then take the shorter walk up to see the two bridges.
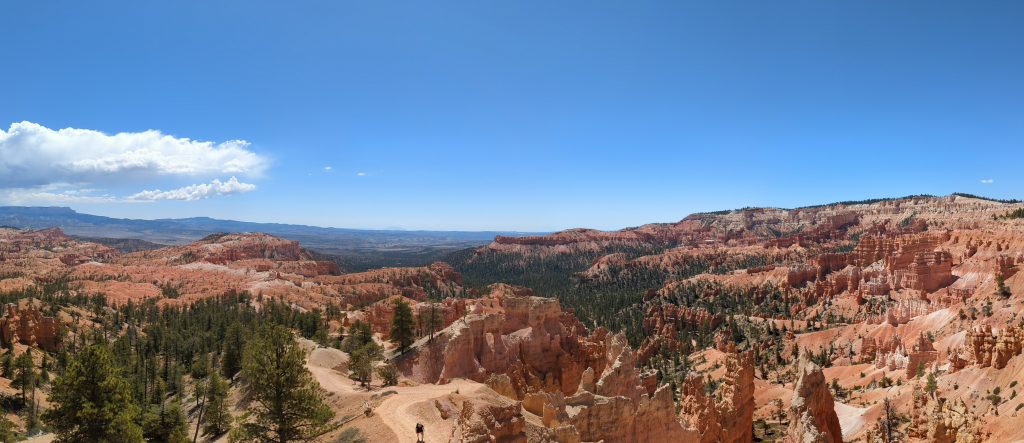
We then continued on the loop towards the Queens’ Garden trail. The trail is easy to follow except there was one section near the Queen Victoria feature where a side trail got us off track for a minute before we re-found our way. The final ascent back up to the Rim Trail was hot and exposed and because of that seemed much steeper than it probably really is. Although looking at the photo above, it is still a rapid ascent/ descent depending on the direction that you’re going.
This hike took us about 2 hours to complete, we didn’t take too much time as the weather was continuing to get hotter and we had a 2 hour drive to get to our AirBnb near Capitol Reef National Park.
Capitol Reef National Park – Day 6 – 8
Capitol Reef National park was the most isolated park that we visited on this trip. We stayed in an AirBnB about 20 minutes from the park. This was mainly to take advantage of laundry facilities, but it also turned out to have a nice deck with a fire pit for the adults and a swing set for the kids. Everyone wins!
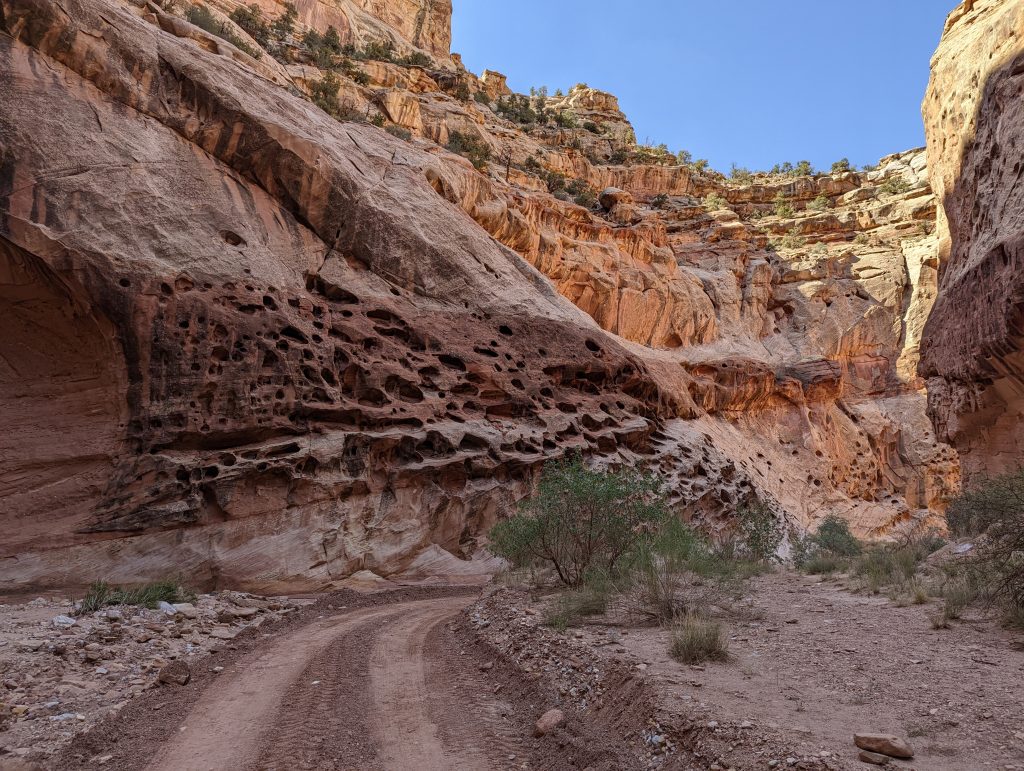
The week before we arrived at Capitol Reef there was a major thunderstorm and flash flood that washed out several cars. There is amazing footage of that here (click that link….it’s worth the watch to see nature in its fury). This limited some of what we had planned to see, but in the end it kind of worked out in our favor.
The severity of the storm caused many of the roads to be covered in silt and mud. The road down to Grand Wash and Cassidy Arch was unfortunately still closed so that preliminarily eliminated it from our options. We still had the Pioneer Registry on our list so we headed that direction. When we arrived there we found that the lower parking area was still closed. Being a history fan, this is something that we definitely wanted to see, so the additional 2.4 miles (!) walk wasn’t something that was negotiable, much to the chagrin of the children on the way back.
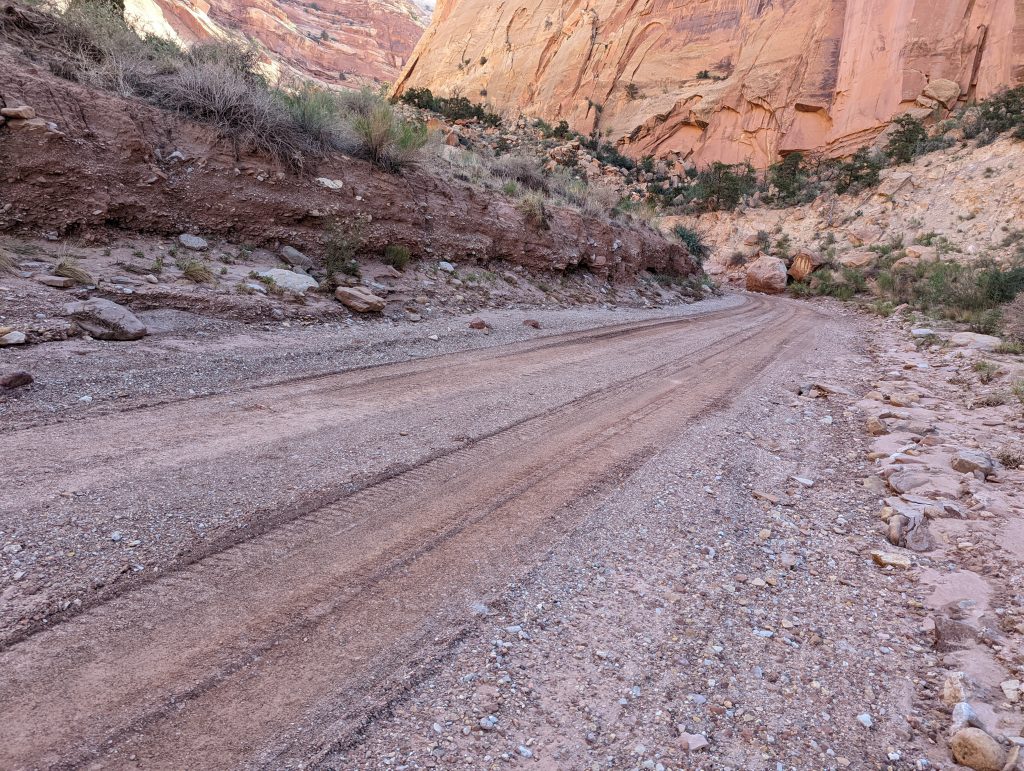
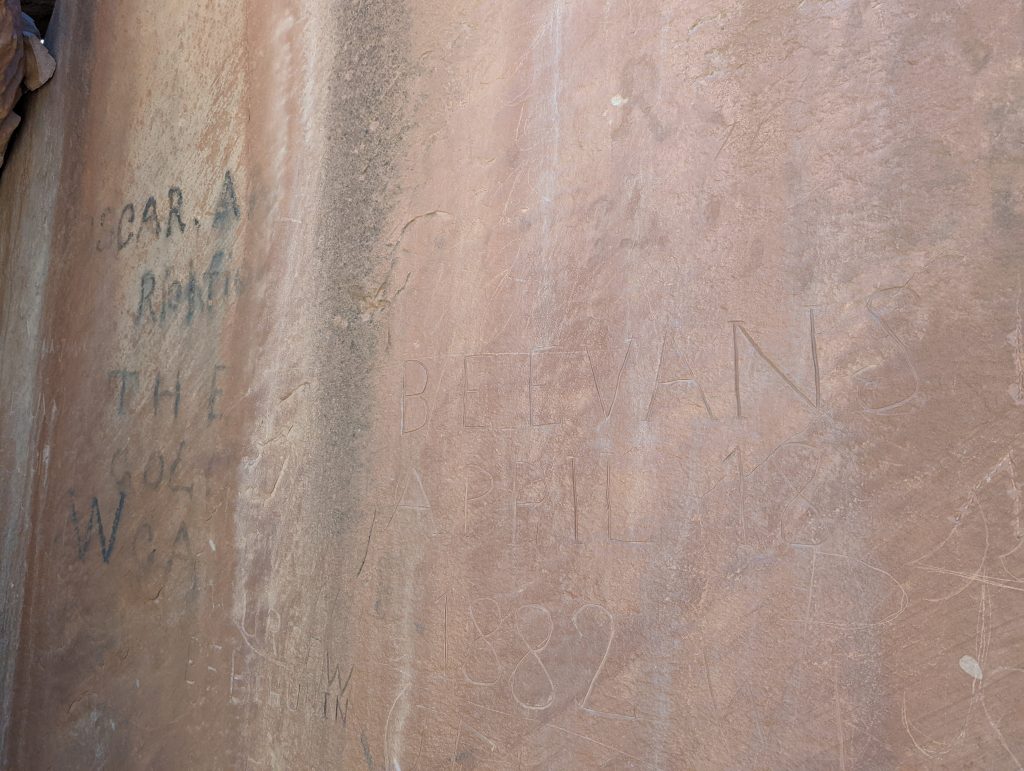
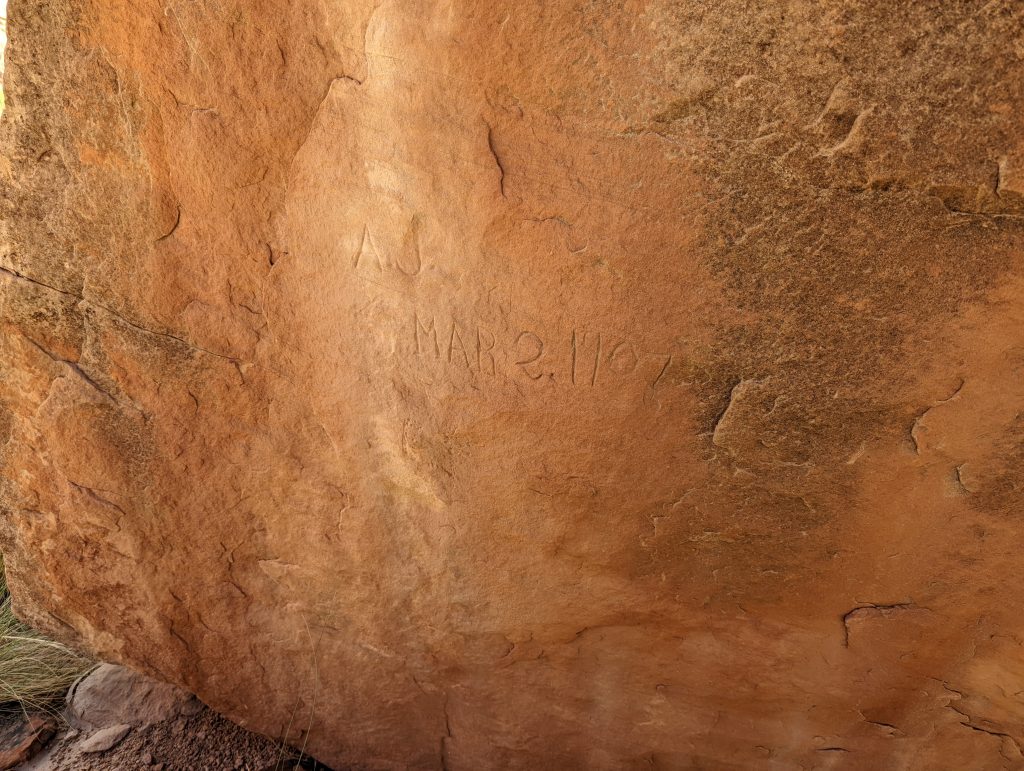
Despite the length the walk down the road turned out to be well worth it. While the registry is the main destination in the canyon, there were several other inscriptions that we would have never seen if we were simply driving down the road. In the initial part of the narrows, the walk through the canyon was reminiscent of a drier version the Zion Narrows that we had just done just prior.
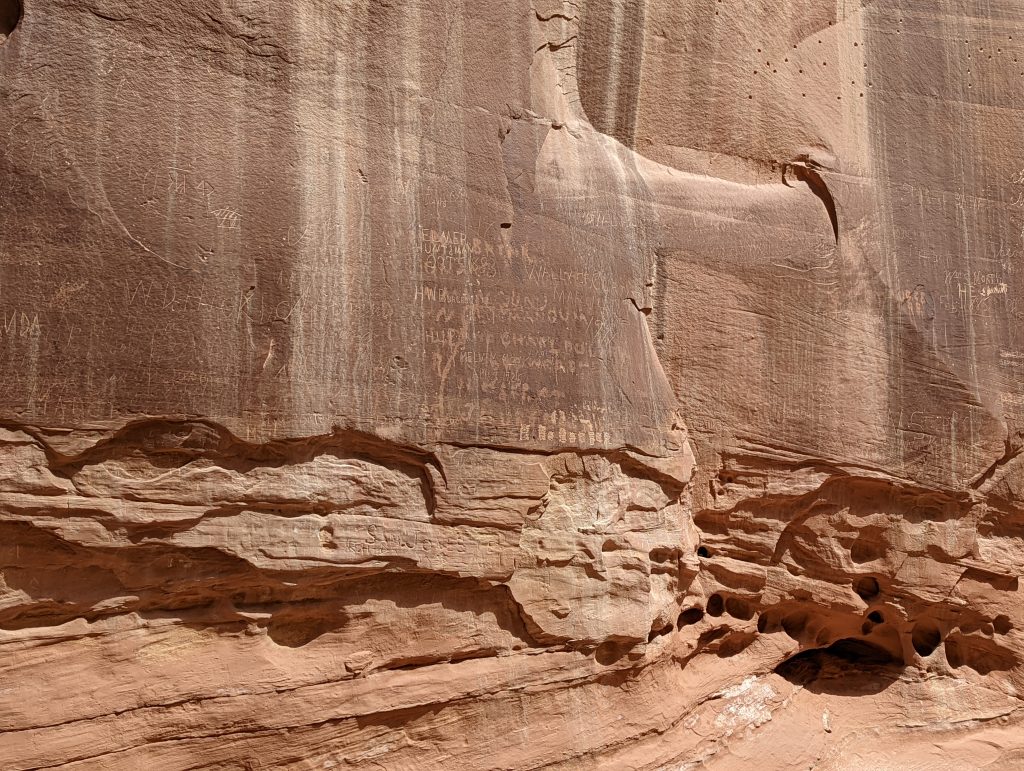
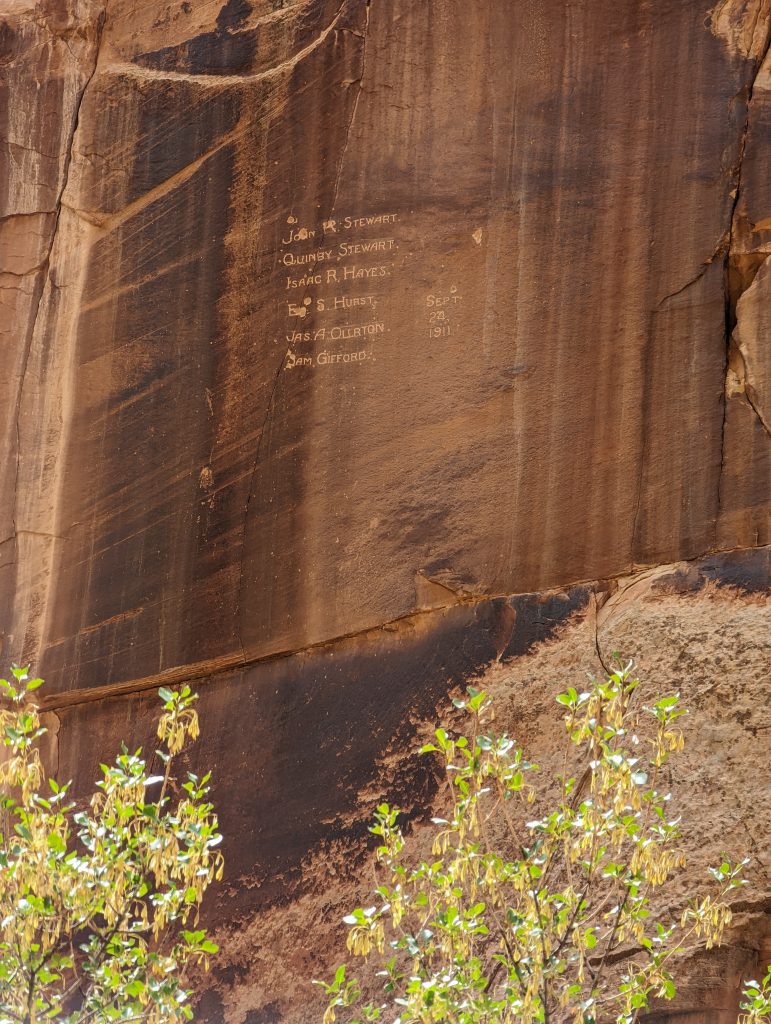
Once arriving to the Pioneer Register area, the inscriptions cannot be described. The above images are just an example of the many that are there. It’s truly an incredible site to behold. There’s even an example of an inscription that was delivered via bullets which apparently I failed to take a photo of.
An interesting note about the inscriptions is that they are all tens of feet off the ground. Not sure if the canyon has washed out more over the years or what else may have happened, but they were well above any possible reach.
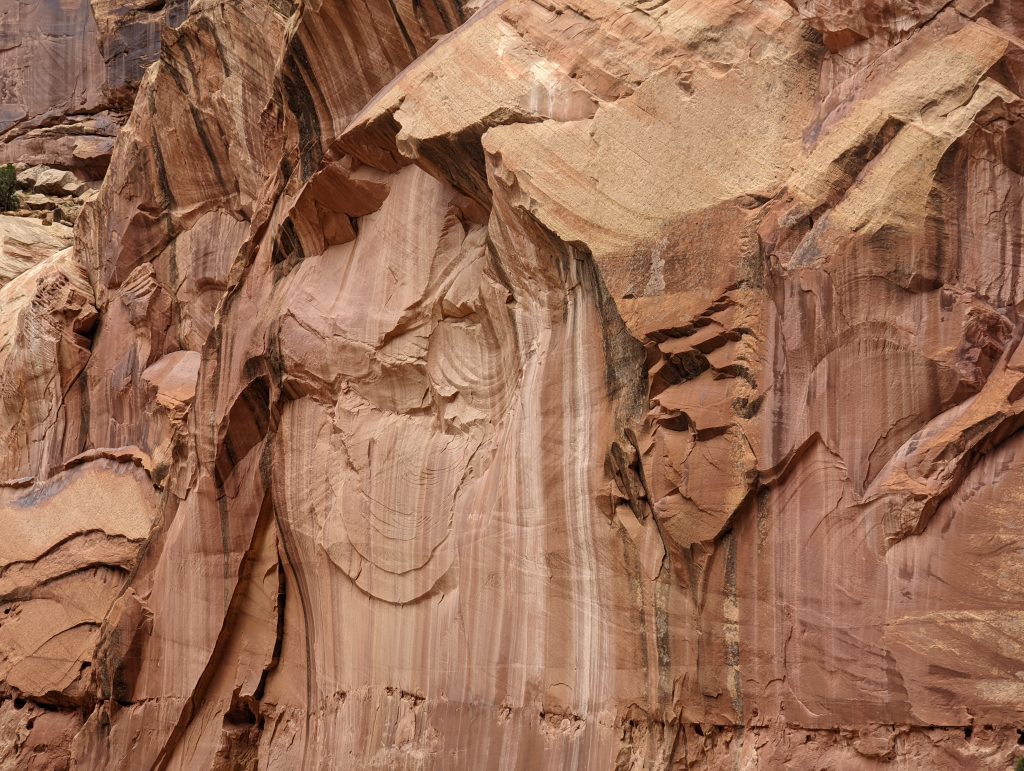
The hike back provided a different view of the gorge as well. The rock structure was interesting as there was very beautiful designs in the calving of the rock faces. We thought the one above looked abit like a smiling monkey. What do you think?
We got a bit of a late start to the day going to the park (did I mention campfire?) and with the additional mileage added by the road closure, by the time we made the hike down to the registry, it was far past Noon. Something that was different about this visit that the last few days was the heat…. It was HOT! We had taken 2 liters of water each, but by the time that we hiked back to the lower parking area we were all running low on water. We stopped for Lunch at the lower parking area, but we were all glad to see the cars and ice chest when we got back. When we got back to the car we found that it was over 90* F. No wonder we went through so much water.
With all that hiking and heat we headed straight back to the AirBnB for some relaxation. The next day we would begin making our way to Arches national park area.
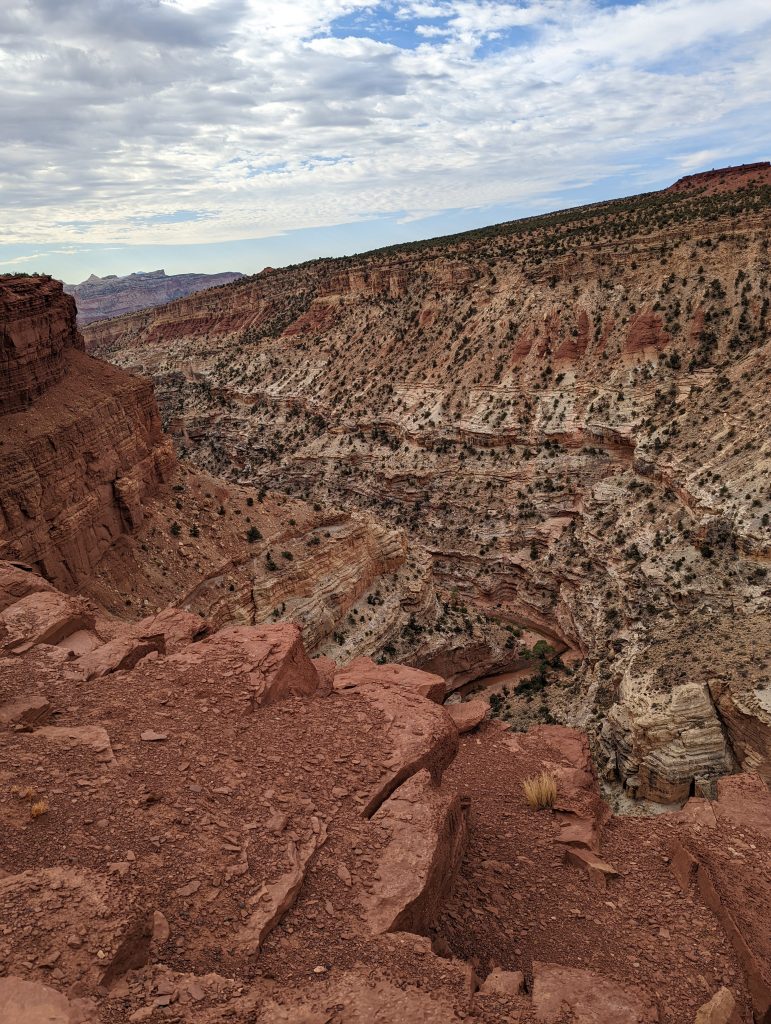
Before leaving the Capitol Reef Area there were two more areas we needed to explore. The first was the Goosenecks Overlook shown briefly in the image above. This was about a 1 mile drive on a nicely graded dirt road. This short excursion was well worth it. There were a couple of short hikes, and the views were endless.
From there we continued on to the Fruita area along highway 24. We stopped at the Petroglyph panels, which were are always fascinating to us. It’s impressive to think about the Pioneer Registry is perhaps only 150 years old and then see the petroglyphs which are potentially 1400 years old. The petroglyhs are worth a stop as there’s a nice boardwalk to walk along and many of the drawings have an alien vibe to them. Unfortunately we were too busy looking at them to take pictures apparently, but you can read more about them on the NPS website.
Arches National Park – Day 9
Arches and Canyonlands National Parks are only separated by a few miles, making it easy to establish a single base camp for both parks. On our trip we chose to stay at Red Cliffs Lodge which was a somewhat inconvenient, but beautiful location about 17 miles east up the Colorado river. If you stay here, we definitely recommend one of the cabins that face the water.
It is important to note that if you are visiting Arches national Park between April 1st and October 31st you must have a timed entry reservation. Without this reservation you will be turned around at the entry gates. Our timed entry permits for 0630 because it can be HOT in the park and we wanted to do several hikes. As it turns out we got incredibly lucky in that it was overcast the entire day and we were able to do much more than we had originally anticipated.
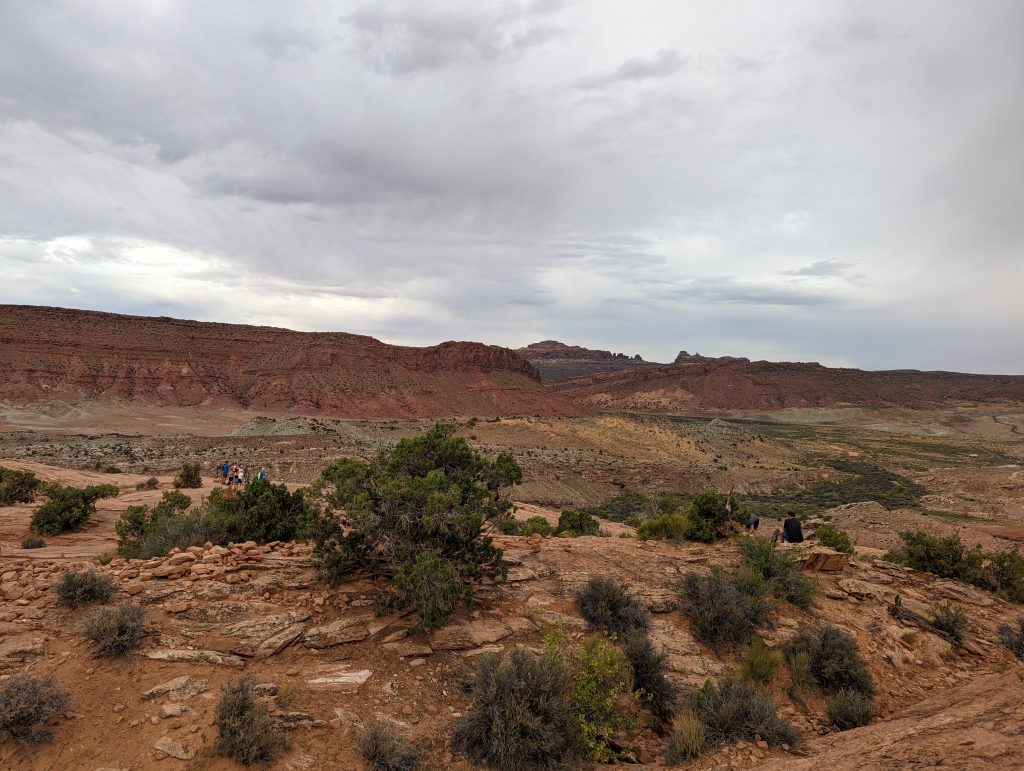
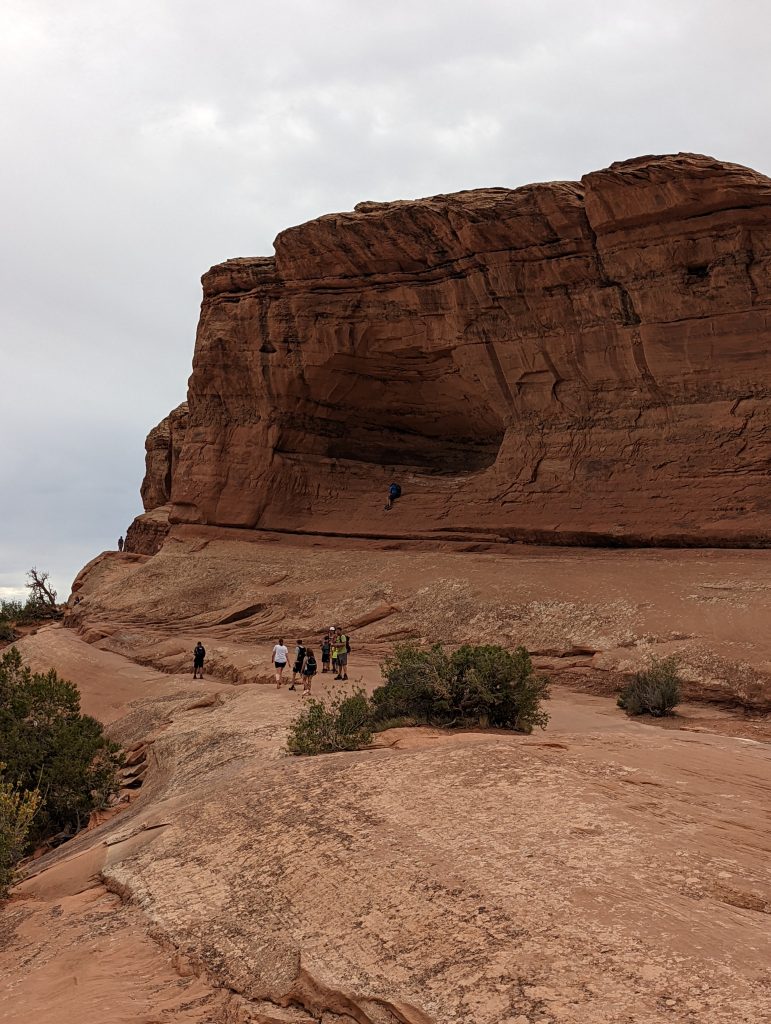
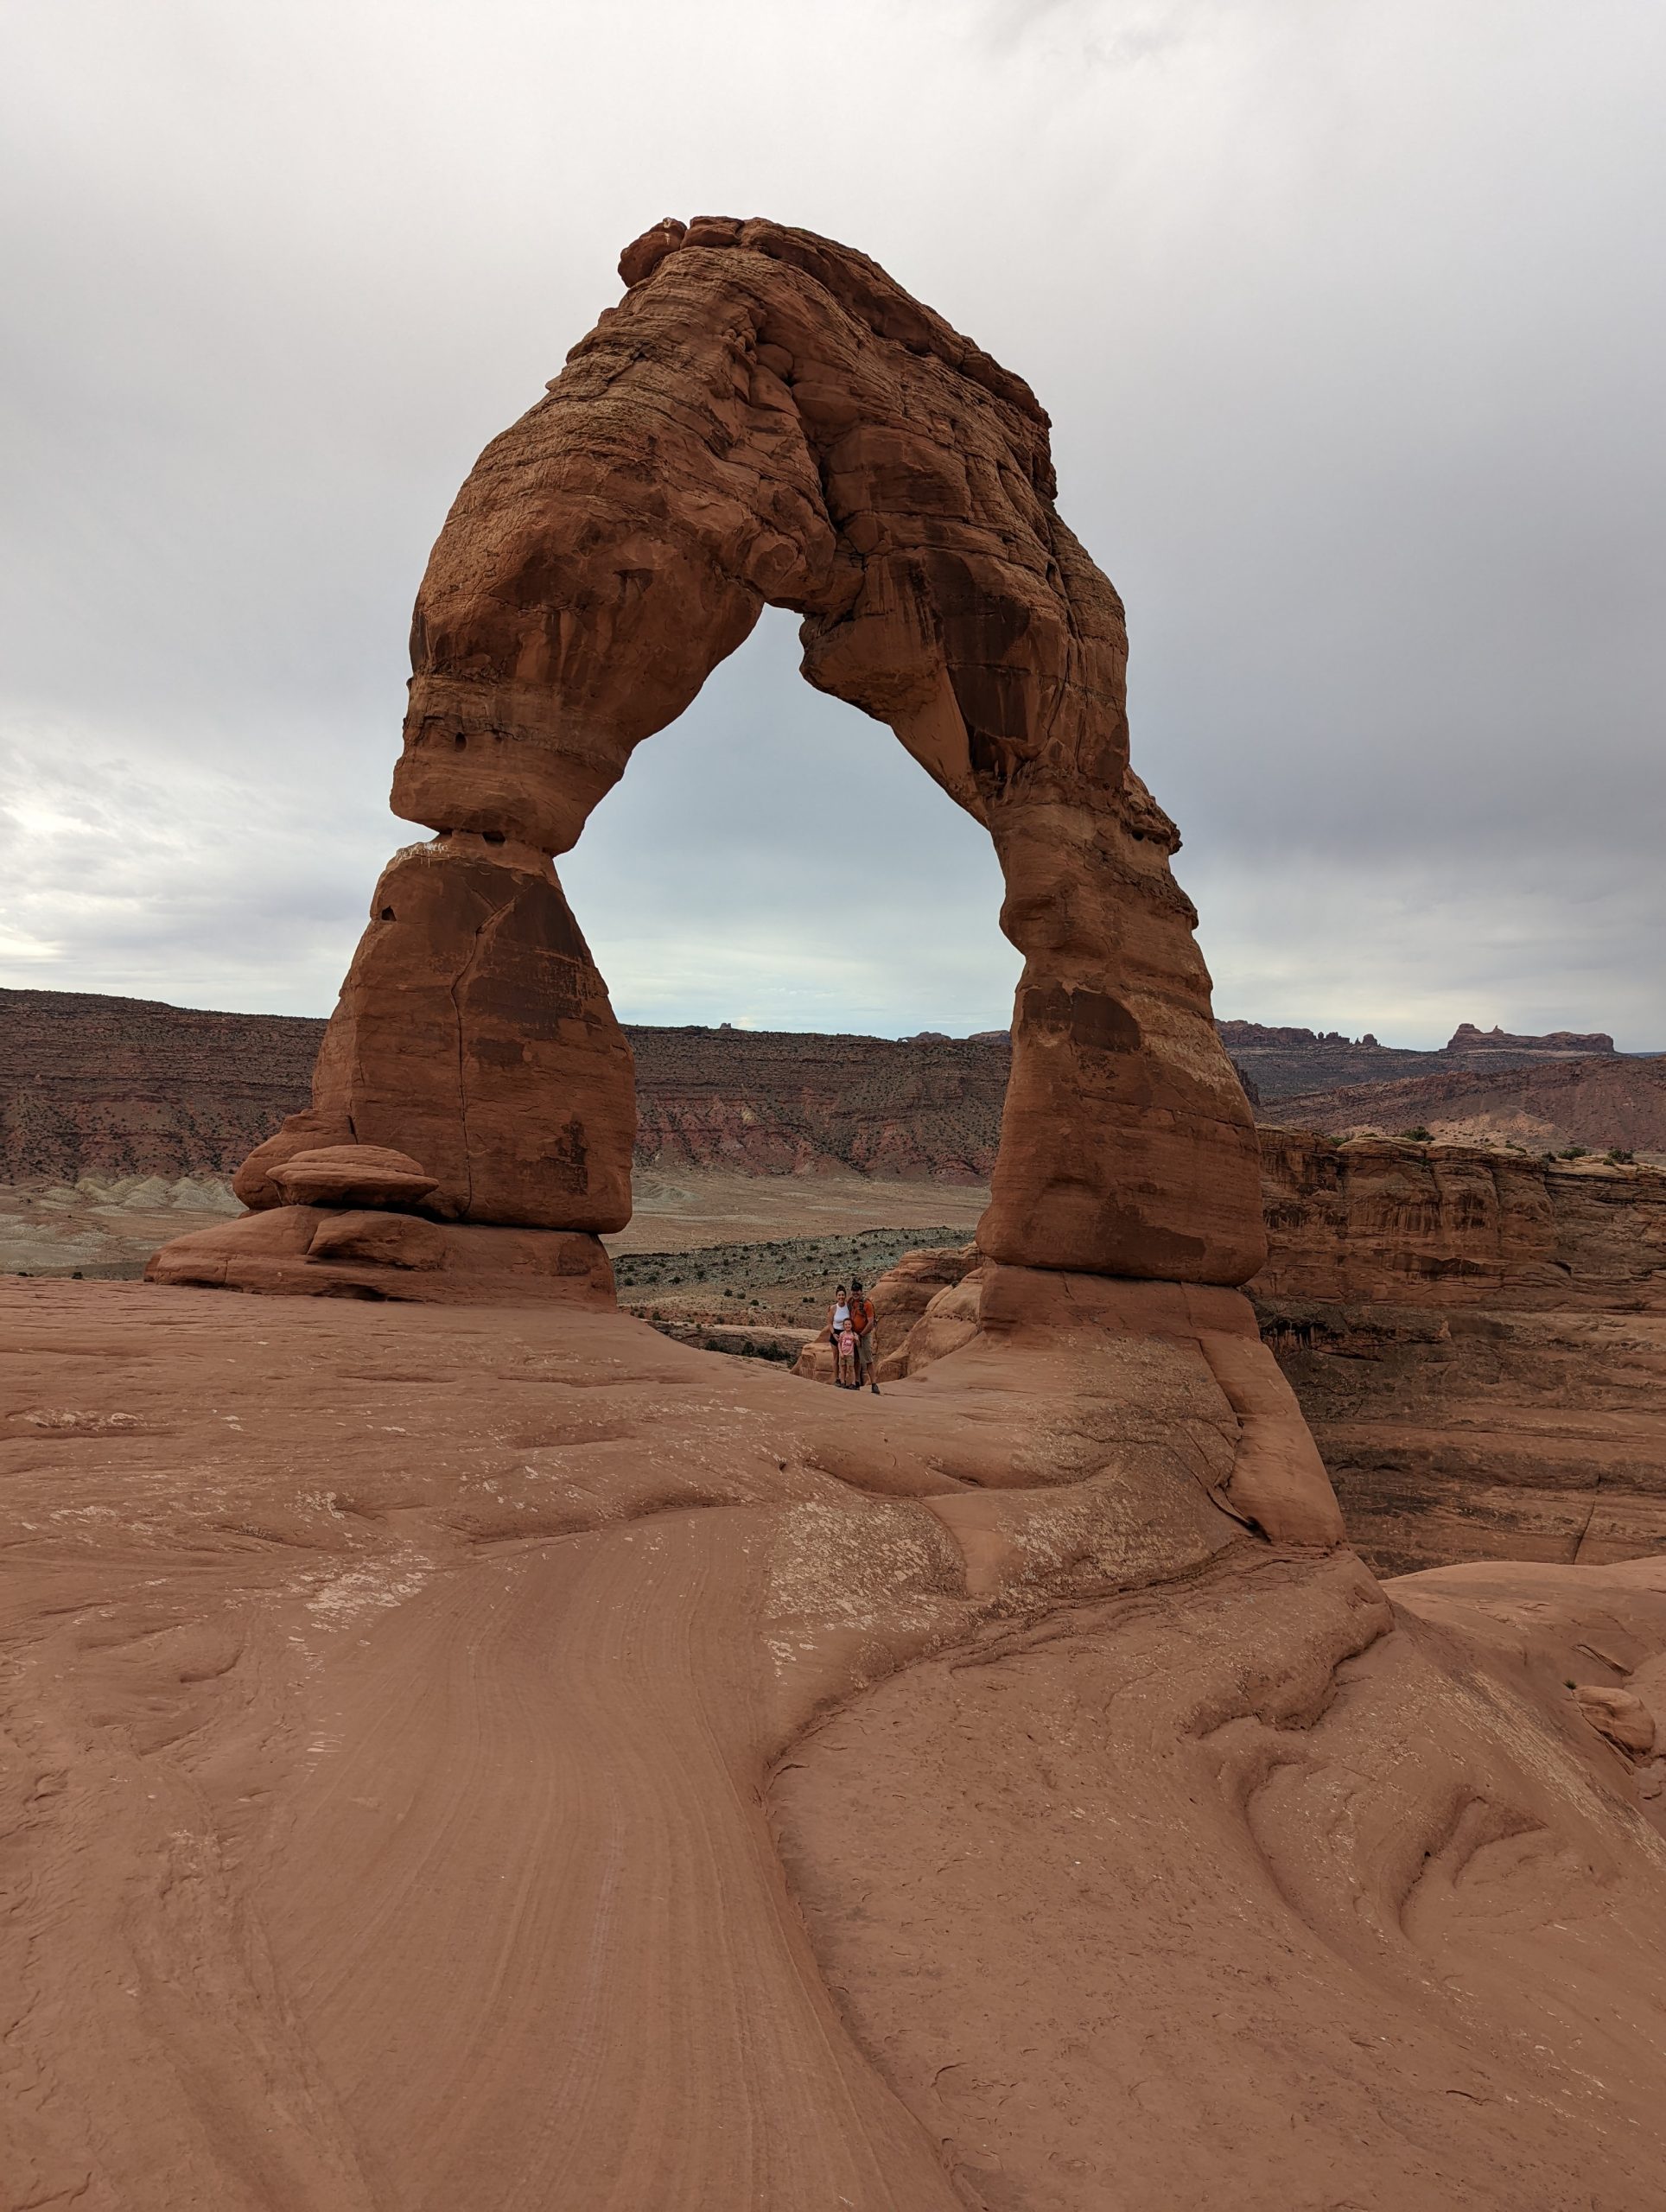
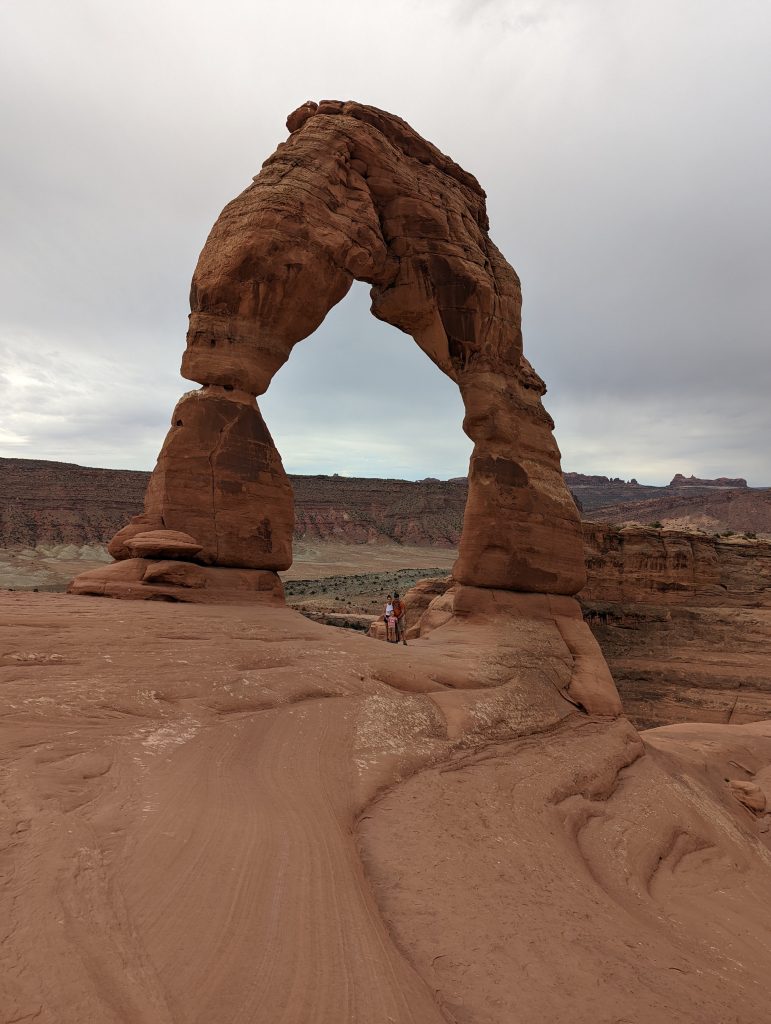
First on the list was the famous Delicate arch which can be seen in the first image in this section. This is the most famous arch in the park and we wanted to visit before the main crowds were to arrive. The trail to Delicate arch is 3 miles round trip and has about 500 feet (152m) of elevation gain. There is no shade or shelter on this trail so keep that in mind when visiting in the summer months. The trail is well defined and easy to follow, but a word of warning to those with vertigo or fear of heights. The last 1/4 mile to the Arch follows along a cliff with a steep drop on one side. Then when arriving at the arch, in order to get close to it, you must scramble down a 6 foot embankment and at that point there is really no more level ground until you are able to stand underneath the arch. It’s not particularly steep, but for someone with balance issues it could be unnerving.
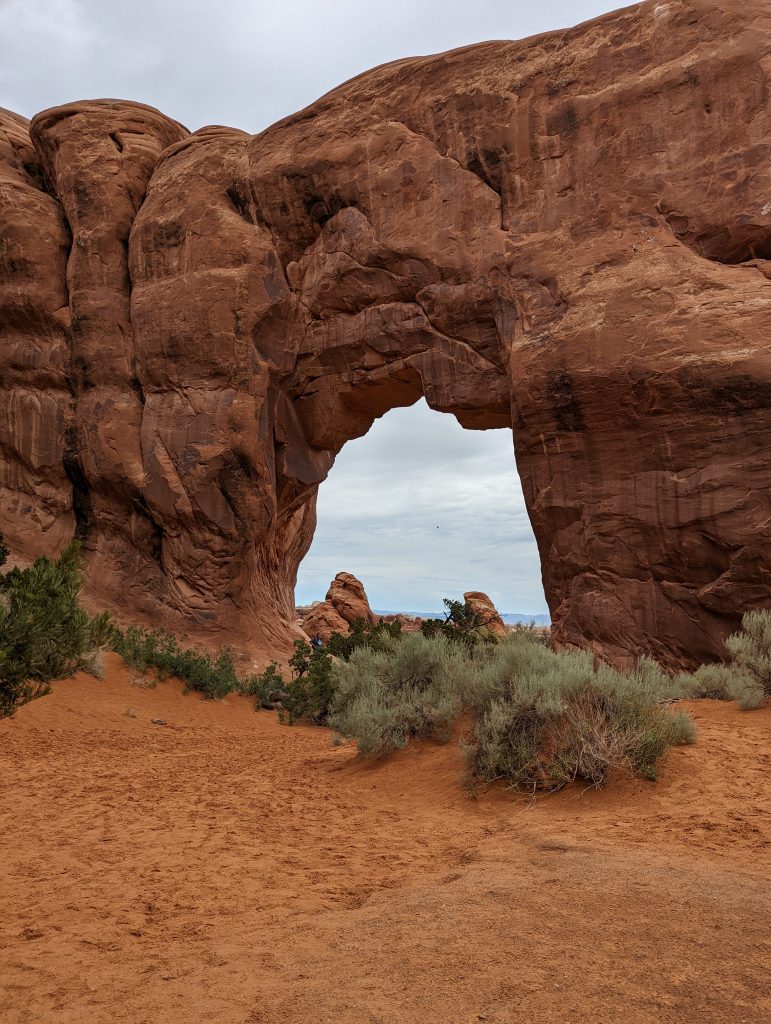
From Delicate Arch we drove to the northern park of the park and visited the Devils Garden Trailhead. By this time it was around 10am and the parking lot was nearly full. With the advantage of the cooler weather we were able to see all 3 of the arches on the trail, Landscape Arch, Tunnel Arch and Pine Tree Arch (pictured above). We didn’t continue farther down the trail past Landscape arch but it is an option.
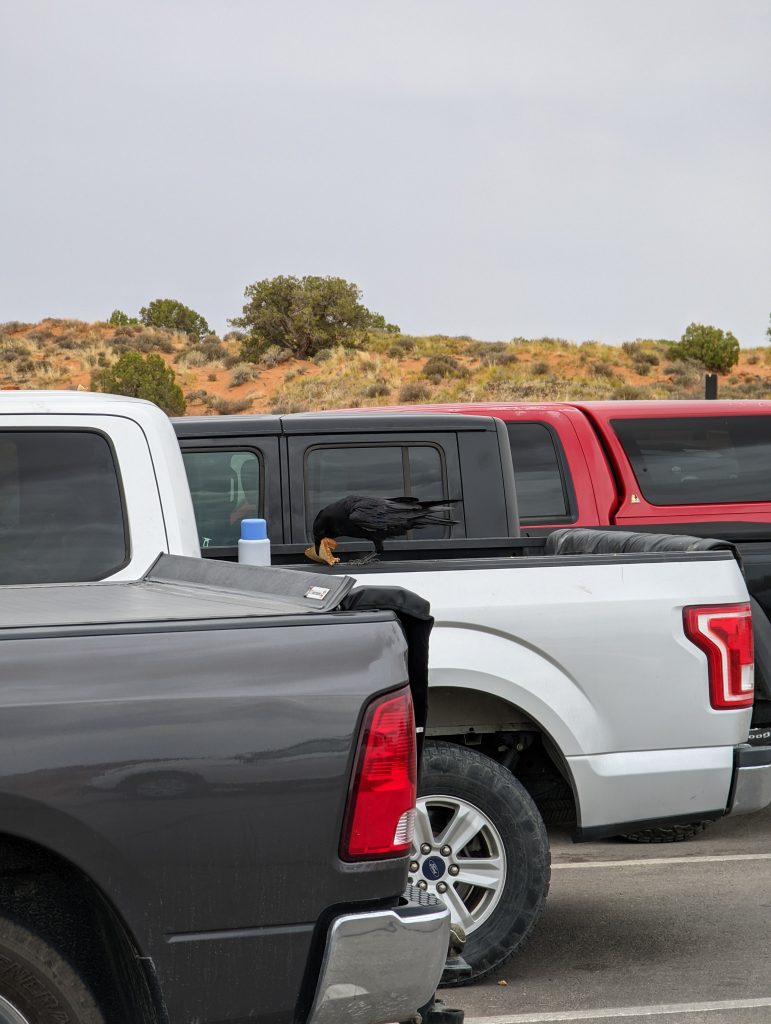
We skipped over Skyline and Broken arches on our way to Sand Dune Arch. This stop included a good reminder of how we needed to be careful of how we left things exposed as a hungry raven was helping itself to the neighboring trucks sandwiches. In the time that we were there it made off with an entire loaf of bread and a bag of chips. We tried to frighten it away but it would immediately return.
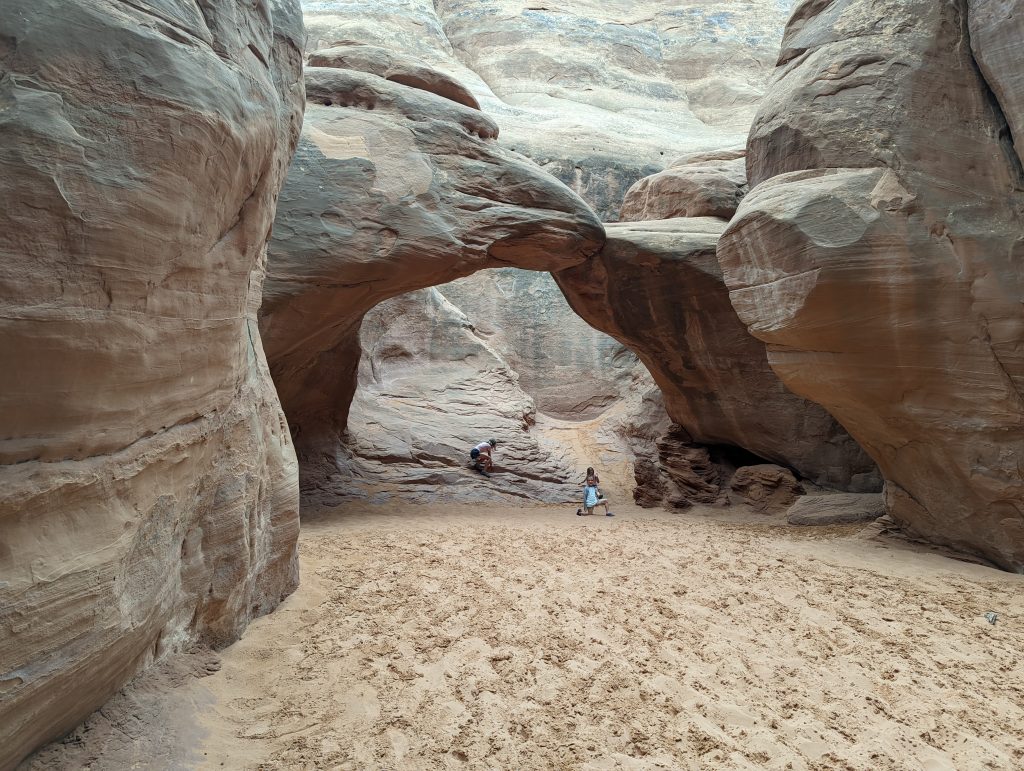
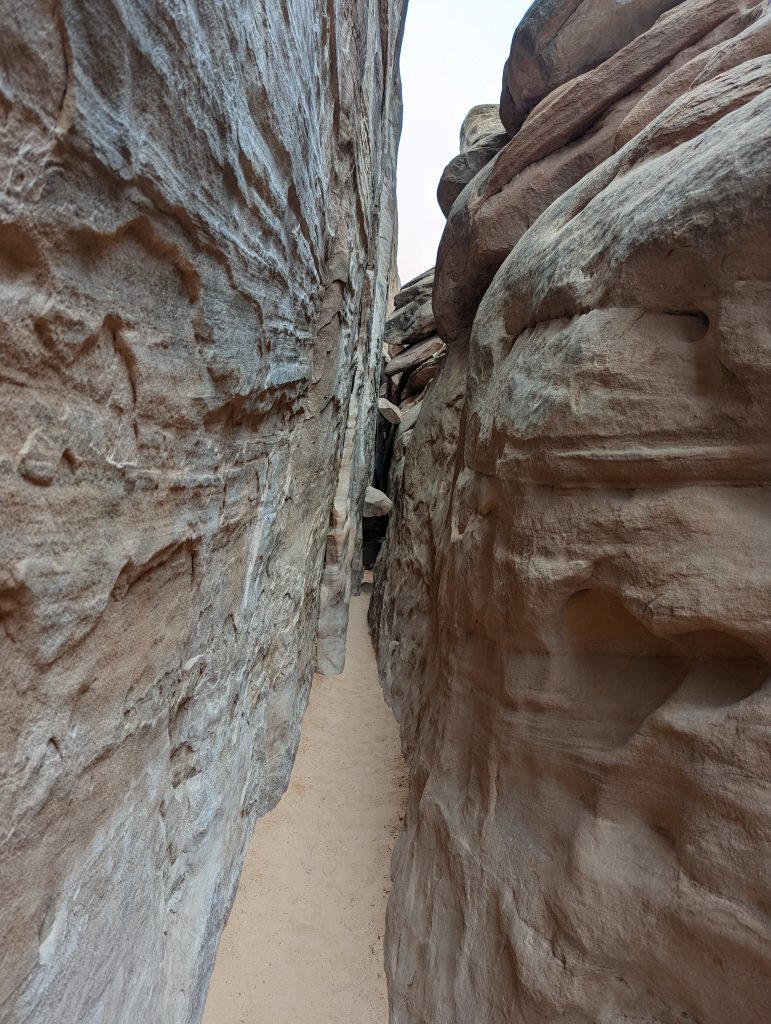
Sand dune arch is a flat and relatively easy walk until you get to the arch area gatekeeper. It’s less than half a mile round trip in distance and is a good quick stop. The arch itself is located in a sandy passageway between two fins of sandstone. The entrance to the arch area includes a small climb, just a couple of feet high, through a narrow slot making it not accessible to wheelchairs (NOT the skinny passage shown above, the entrance passage is reasonably sized). Once in between the sandstone walls the sand is deep and soft, better than 90% of the beaches in southern California. Going past the arch area the trail quickly ends in an extremely narrow passage that becomes impassable no matter how skinny you think you are.
With an extra 2.3 miles from this trail you can also visit broken arch but we did not do that on this trip as by this time the kids definitely had enough hiking for the week.
From sand dune arch we went over to another very popular area, Double Arch. This location not only includes a visit to the also famous double arch, but also serves, the window arches and Turret arch. For us it was just now a bit after Noon. Parking again was at a premium, but the timed entry permit seemed to make a difference as in all the locations while the lots were full, there was only short waits to find a proper parking spot.
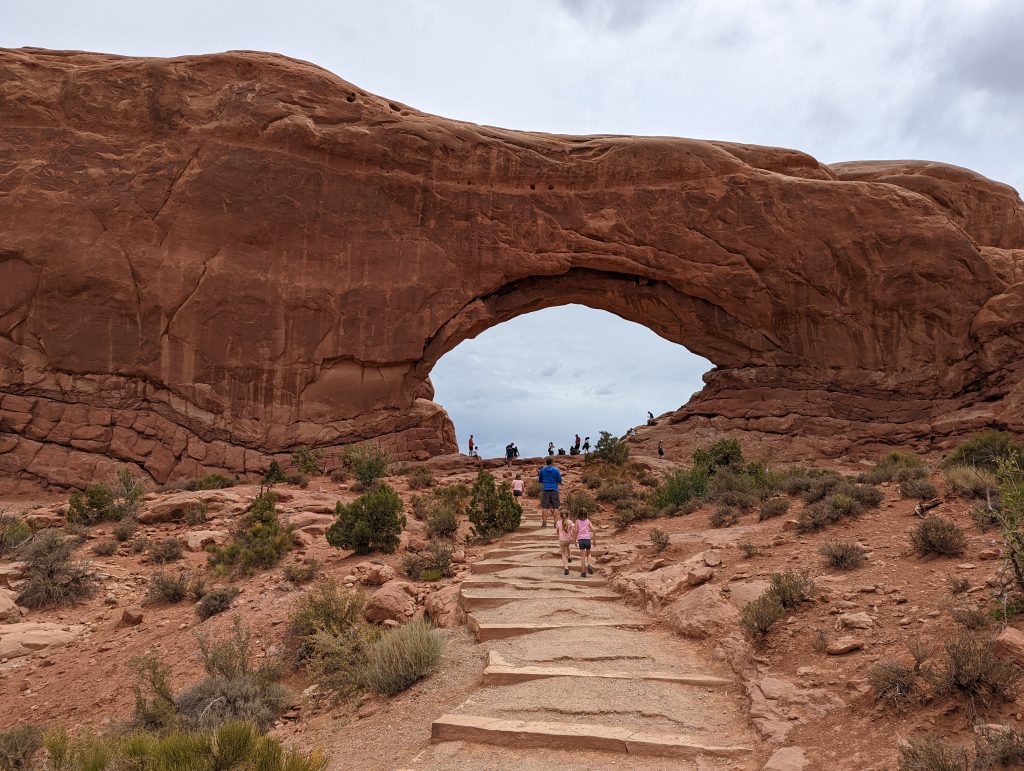
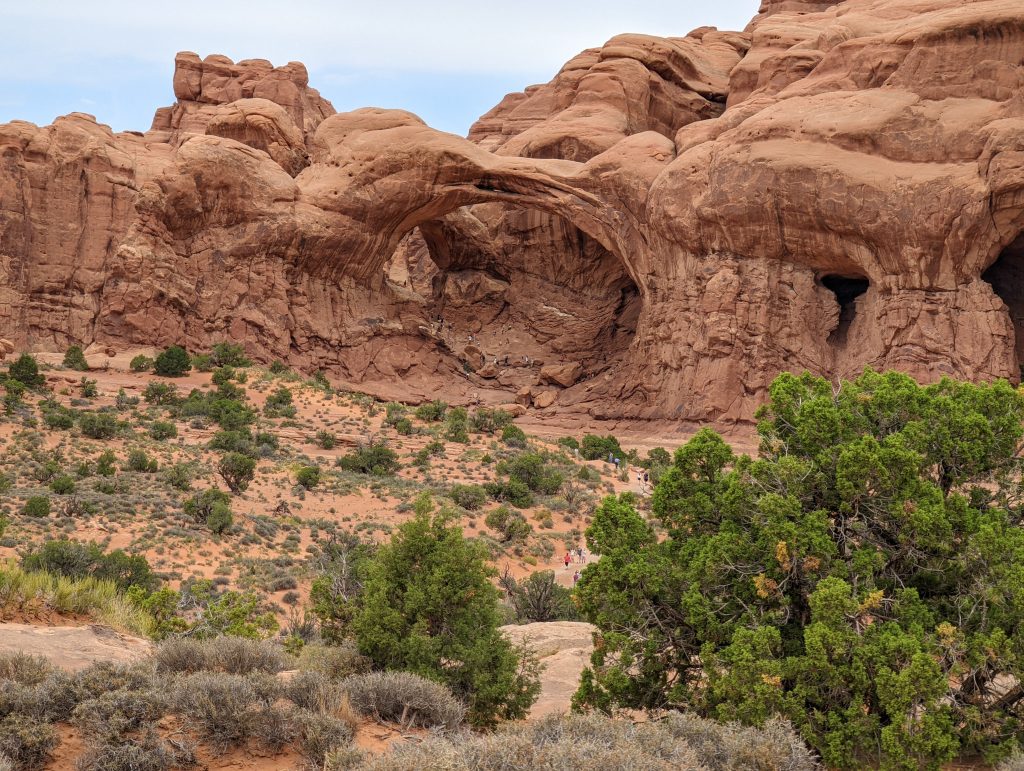
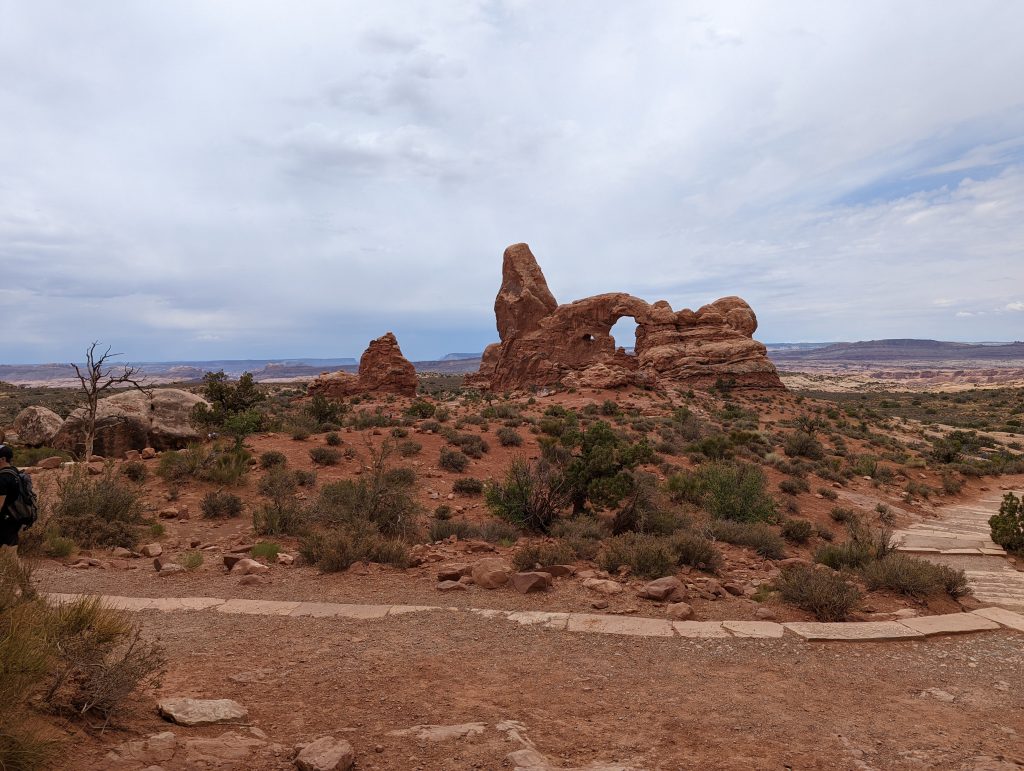
At the Double/ Windows arch parking area is a nice loop trail that goes to the both Window Arches and Turret arch. It’s only .5 mile round trip and there is a 100′ of elevation gain to the windows arches but there are many wide deep small steps to make the gain easy and offers plentiful places to rest. You can see from the pictures above this From the Window arches you can look back where you came from and see Double arch and Turret arch.
This area would be the last that we visit before we headed back down to the visitor center to do the necessary Junior ranger booklets. After the kids got their badges we retired into the town of Moab for a late lunch and then some relaxation at the hotel pool.
Canyonlands National Park – Day 10 (Day 11 was driving home)
Our final park to visit on this trip was Canyonlands National park. Canyonlands is divided into four districts: Island in the sky, The Maze, The Needles and the Green and Colorado rivers, which make the separation between the 3 terrestrial districts. Our trip would only include visits to two of them, Island in the sky and The needles.
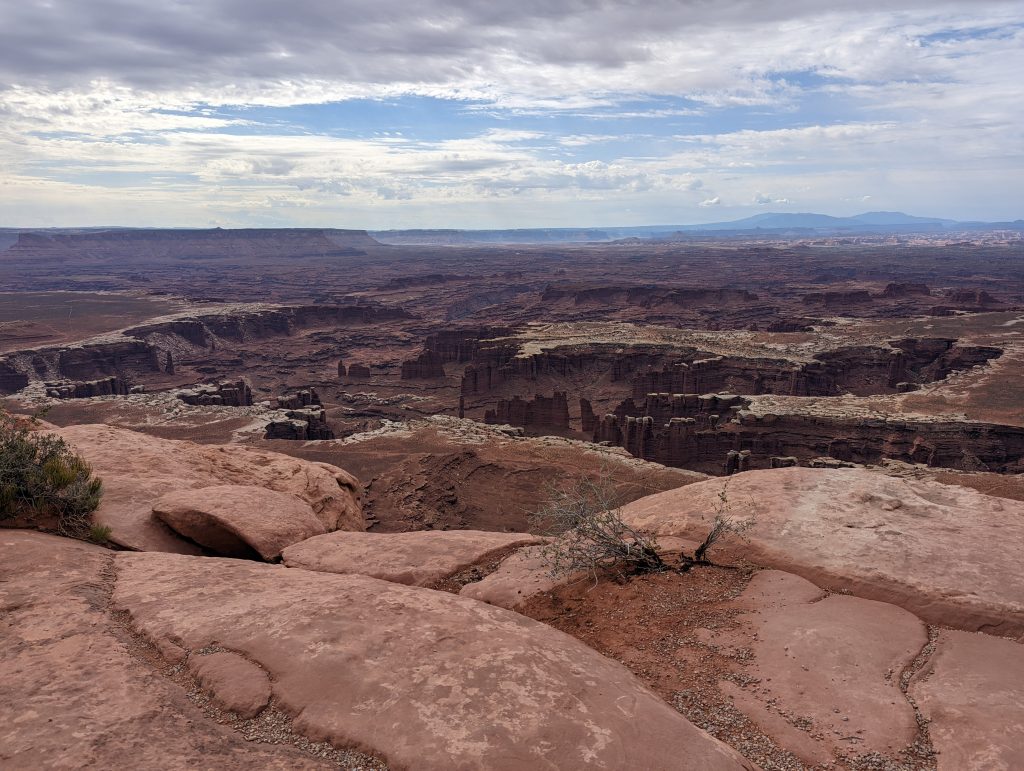
We started later in the morning for this visit as, although anything but deserted, Canyonlands is far less visited than Arches. We arrived at the Island in the Sky visitor center around 8:30 to pick up the junior ranger books and headed down to Grand View Point overlook. This trip has provided some pretty spectacular views, but the one from the Grand View Point overlook cannot accurately be described in words or captured in pictures. If you’ve been to the Grand Canyon in Arizona, it is similar to that, but without the pesky opposite canyon wall to stop your view into perpetuity.
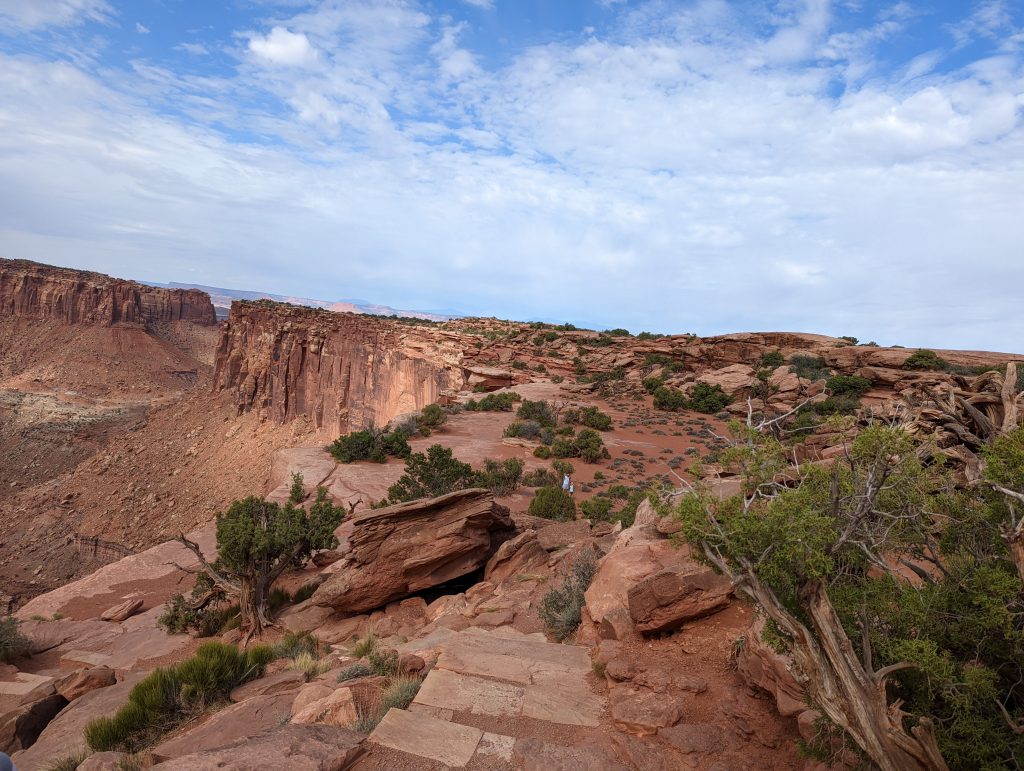
Along the rim of the overlook there is a trail that is 1.8 miles in total distance. From this trail you can get a view of all three divisions of the park. There are no guard rails or other safety measures along the edge of the canyon which can make for beautiful photos, but also can trigger fears of heigh
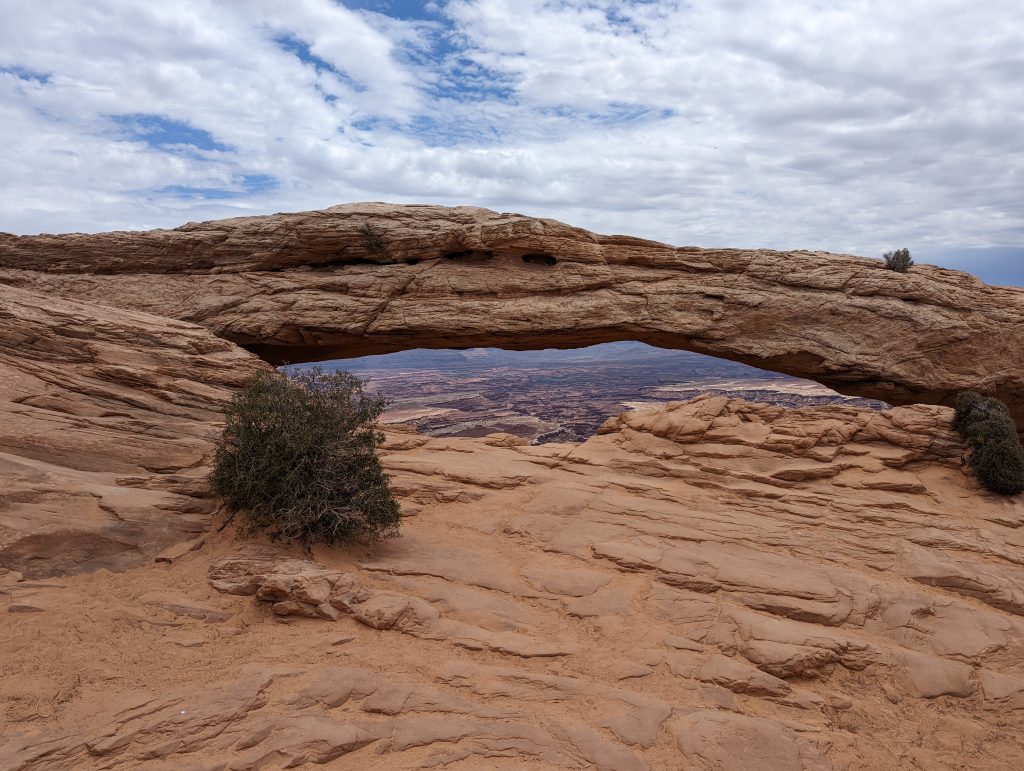
From the Grand Point overlook we traveled back along the road, completing the Junior ranger books and picking up the badges at the Visitor Center. We stopped at Mesa Arch, a .6 mile trail on the way back. The Mesa Arch clings to the edge of a cliff and is said to have stunning views at sunrise. The photo that we took doesn’t do it justice, it frames the far off view much better than shown above.
Since it was only noon the dads on the trip tackled whale rock. This was one of those “why not do it” moments. The trail is rated moderate and is .8 miles round trip. We wouldn’t recommend it for the kids as the climb has some steep and smooth parts but it was a cool experience nonetheless.
after a lunch in Moab, we decided to take the 2 hour drive to the Needles district. Unfortunately there’s no direct route through the park without some serious off roading so this time driving was spent going around the park. There are some attractions that we didn’t stop at such as “Hole ‘N’ the Rock” as we were already going to get back to the hotel quite late.
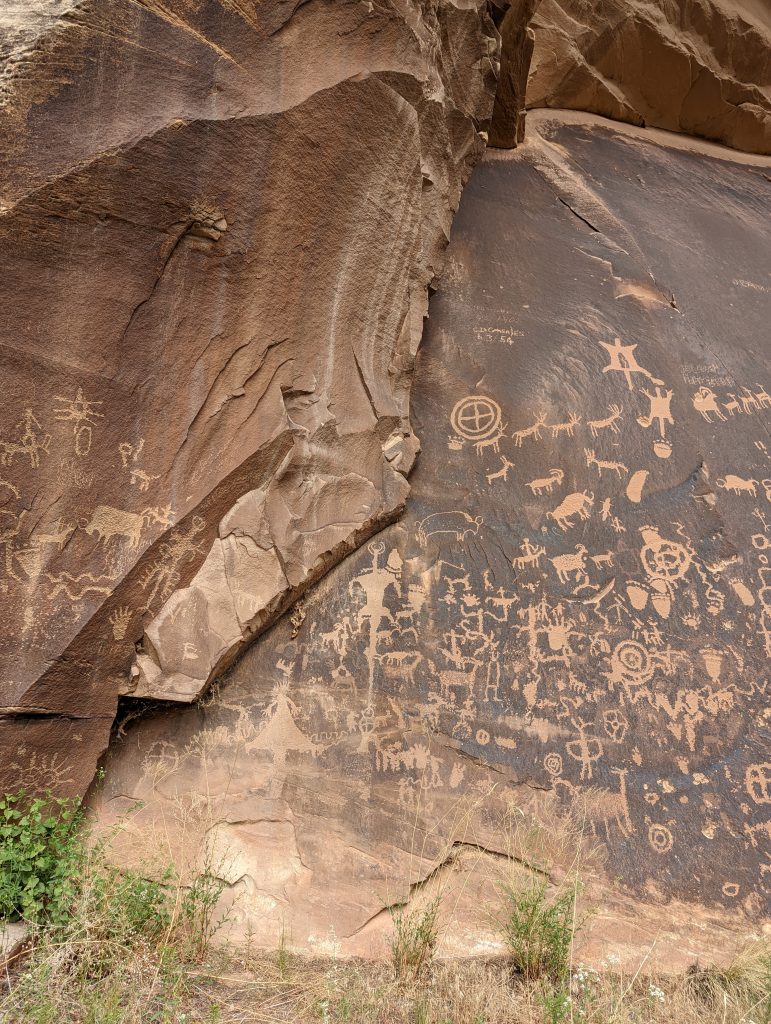
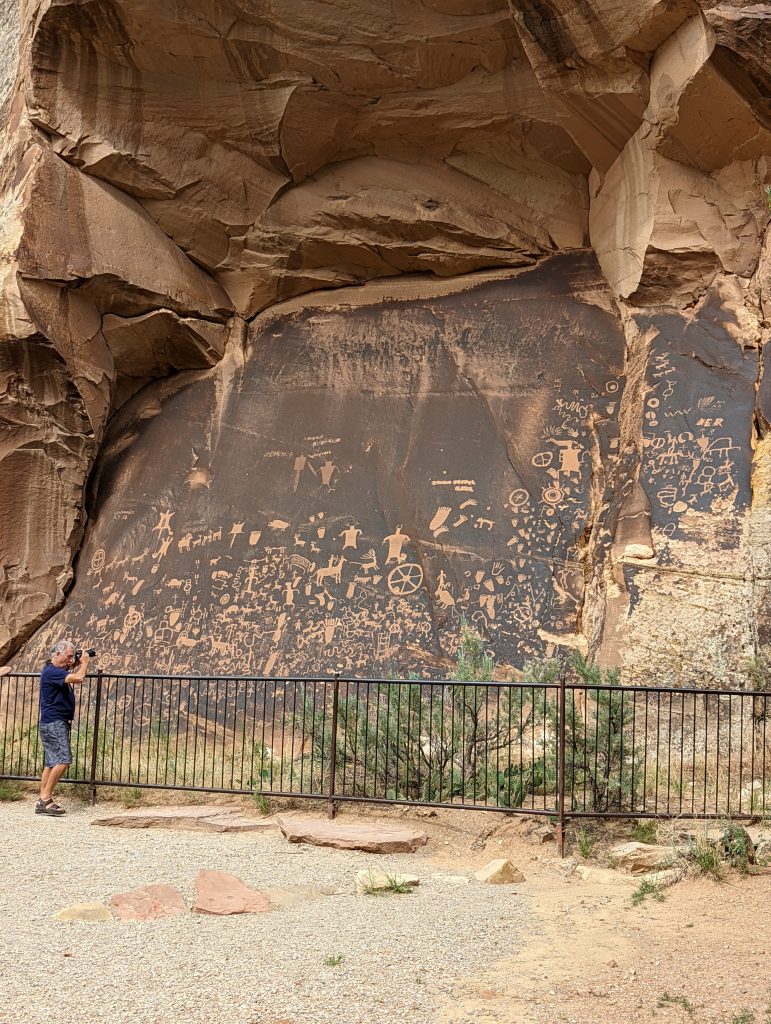
The reason we decided to take the drive which made it into a long day was to see the petroglyphs at Newspaper Rock. This is one of the most impressive single panels we’ve seen. The size, scale and clarity of them is something that definitely needs to be seen.
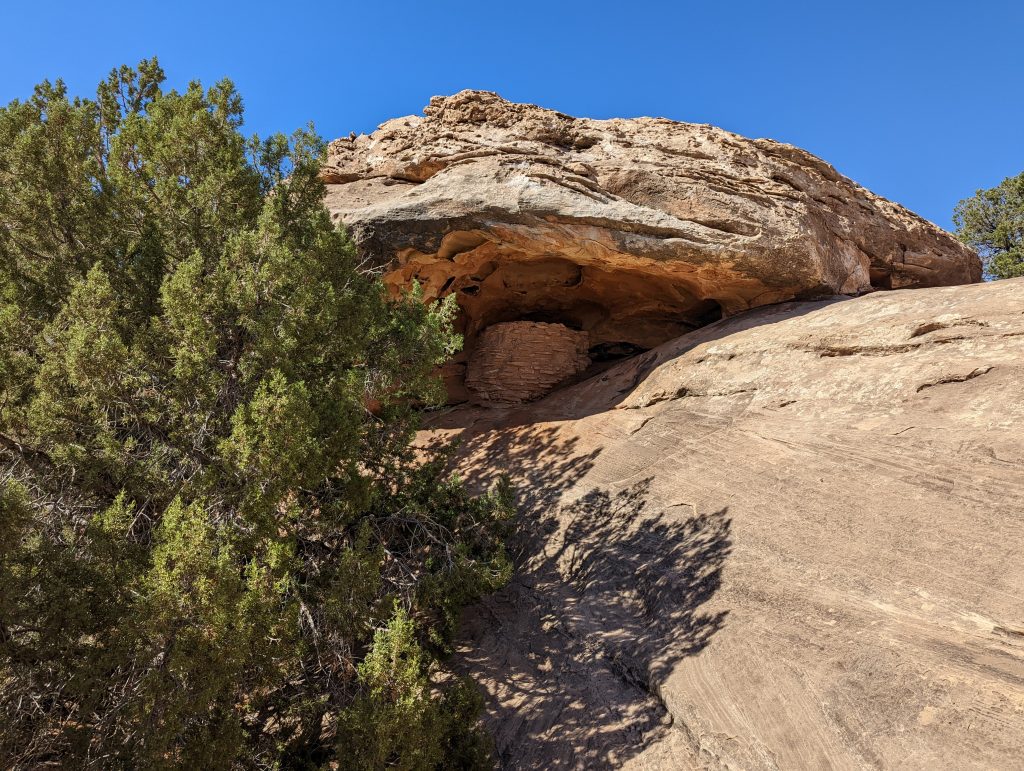
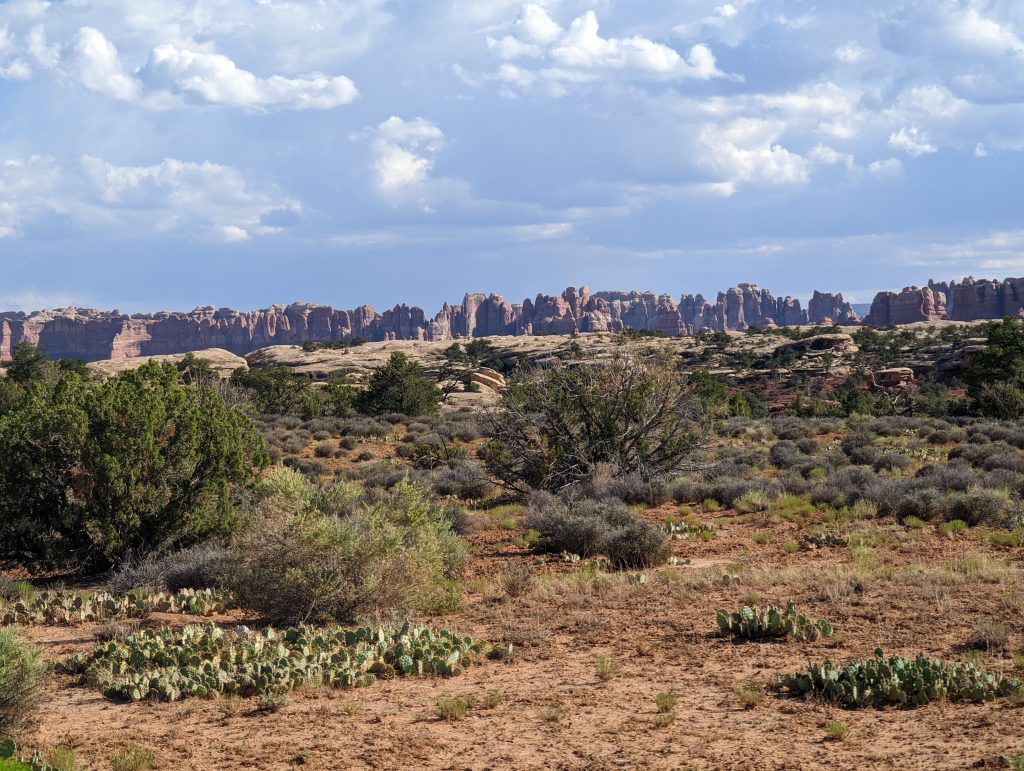
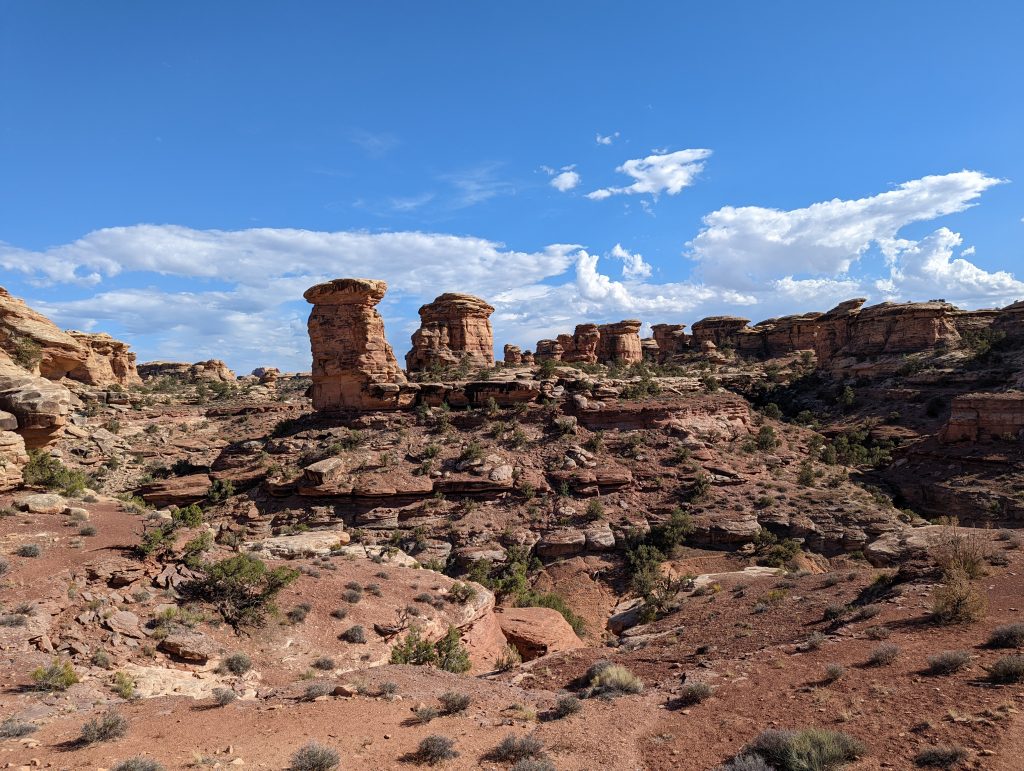
We then toured the rest of the Needles district primarily stopping at the various overlooks. The area, also has dwelling remnants with the one above used for food storage. With an angry child in the car with us we didn’t get to do much exploring on the trails, but it was probably just as well. By the time that we had completed driving around and then traveling back to the hotel it was well after 8pm.
This concludes our tour of the Mighty 5 national parks with each park only 2 – 3 hours from each other it is quite easy to customize your trip to ensure that you get to see and do everything you want to your satisfaction and fitness levels.

